Up.
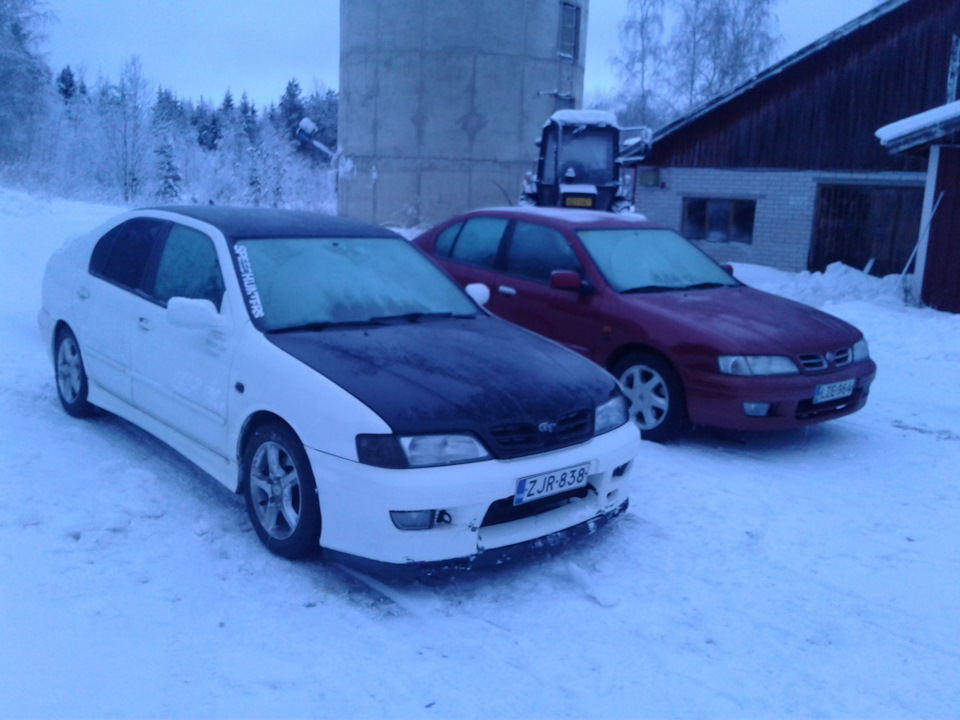
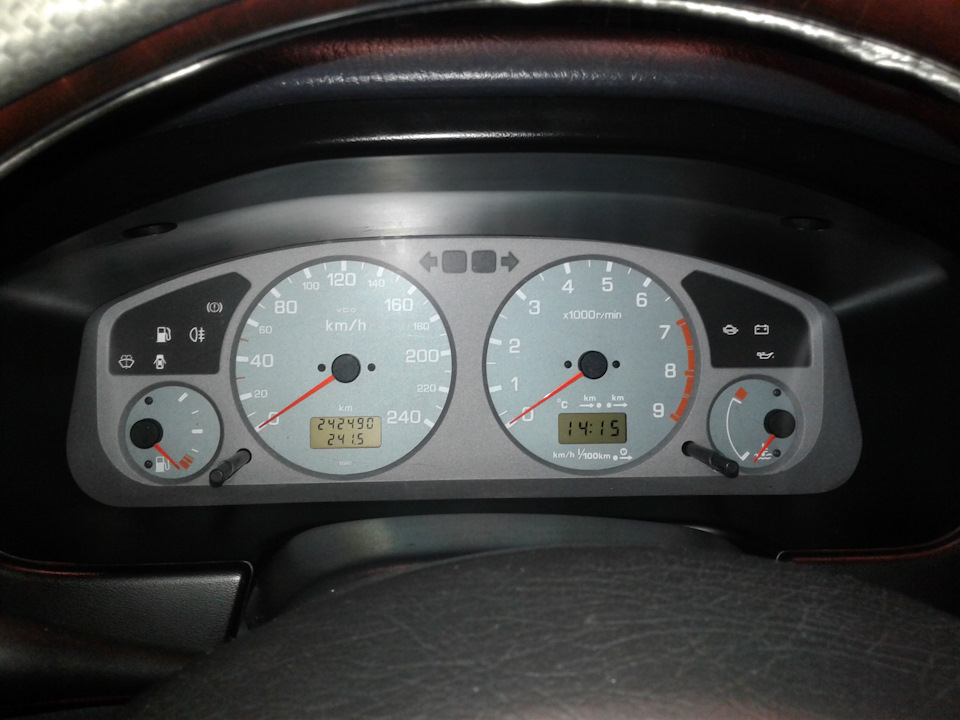
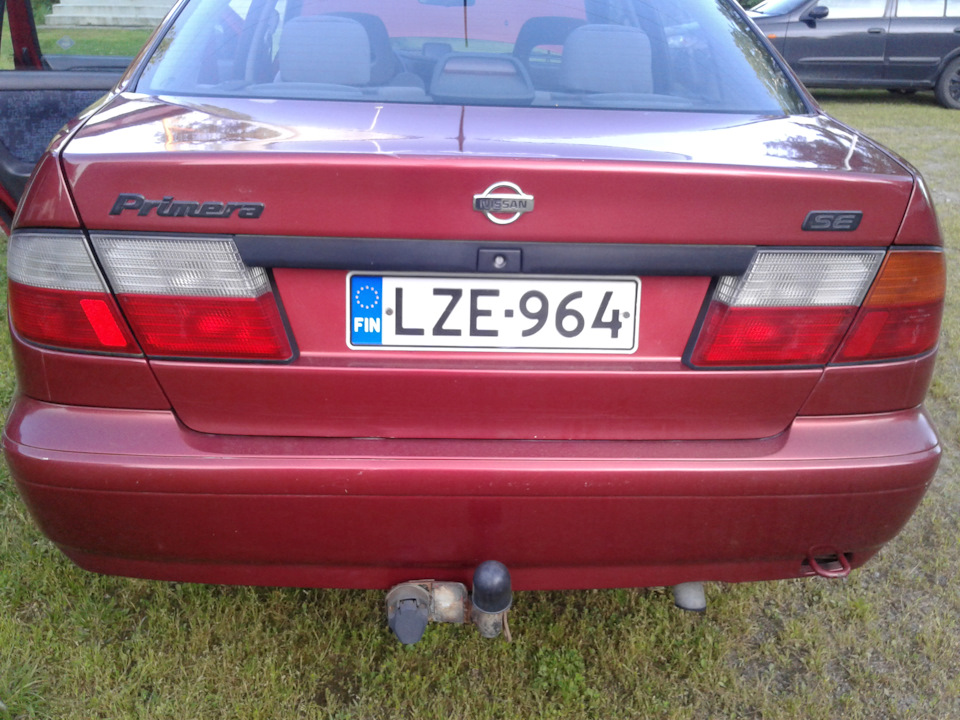
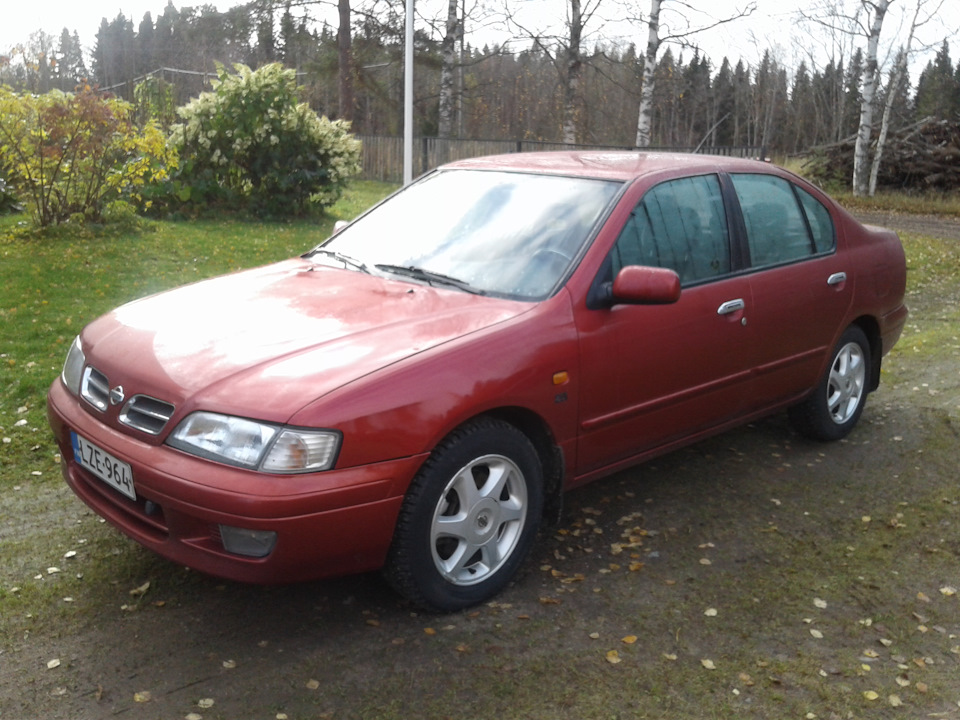
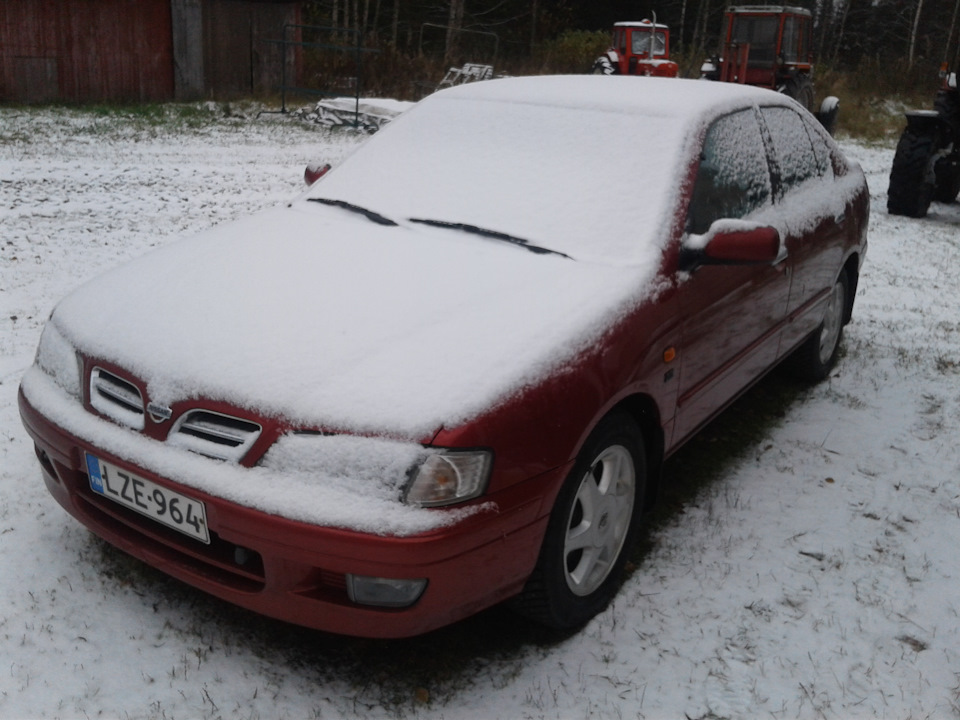
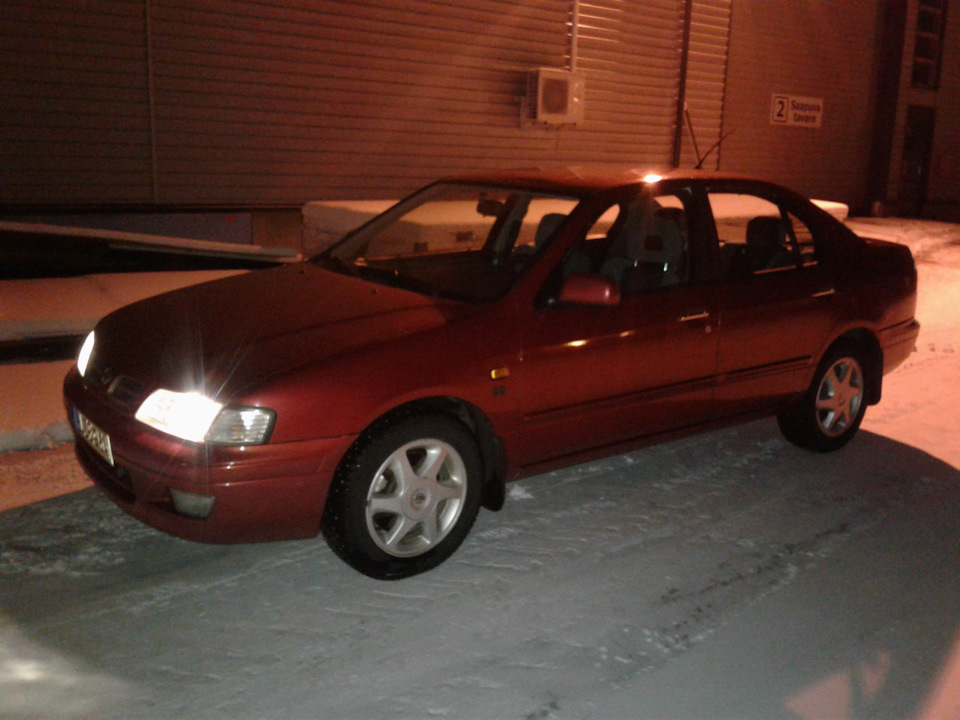
As mentioned before, the car had it's birthday yesterday. For it's age I dare to say that it's in good condition.
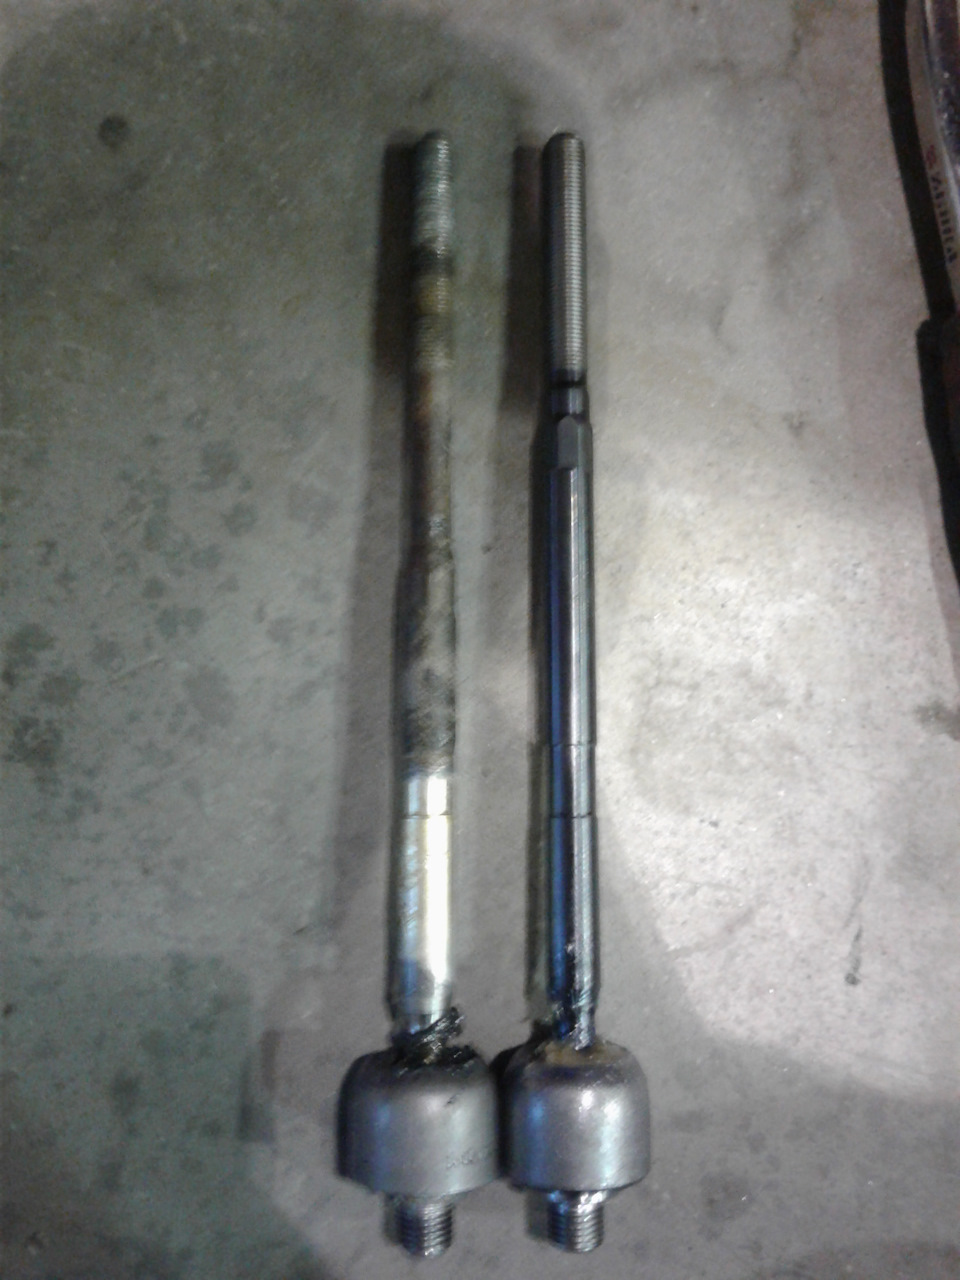
As a gift I replaced the inner and outer tie rod ends.
The outer ones were easy to find, but the same thing cannot be said of the inner ones. There is no actual part number given to them, since the whole steering rack is sold as an assembly which consists of pretty much everything. Once again, I turned my vision to the east and started to browse through russian sites hoping to find asnwers. After several days of searching, I hit the jackpot. Well, not directly, but after cross referencing some part numbers, I found out that Febi Bilstein makes parts that actually fit perfectly.
Besides the fact that there was no part number, I was confused of the variety of parts all the internet stores offered me. Some offered a one with M16 inner threads and other with M14. I could not dissassemble the whole thing to figure it out, because I needed my car daily. I just made an order and hoped for the best.
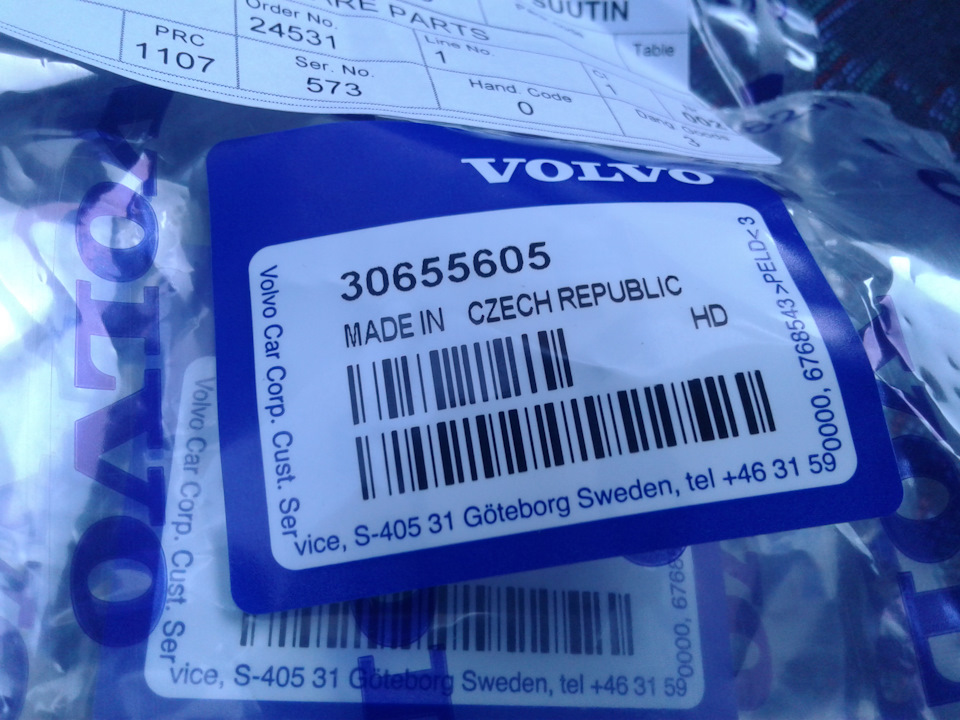
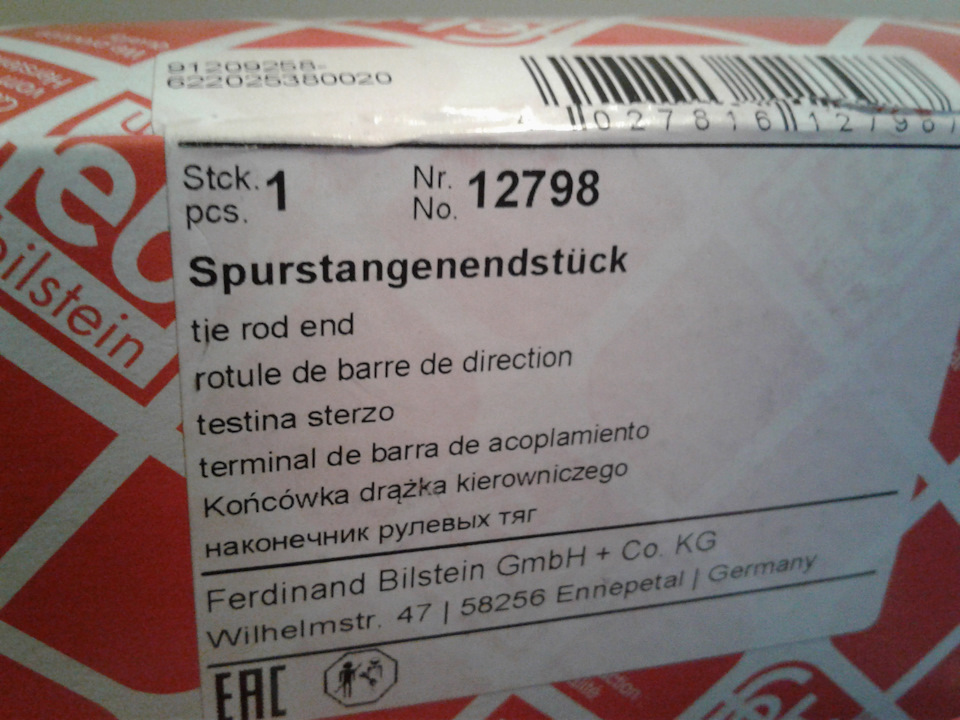
Outer tie rod part number
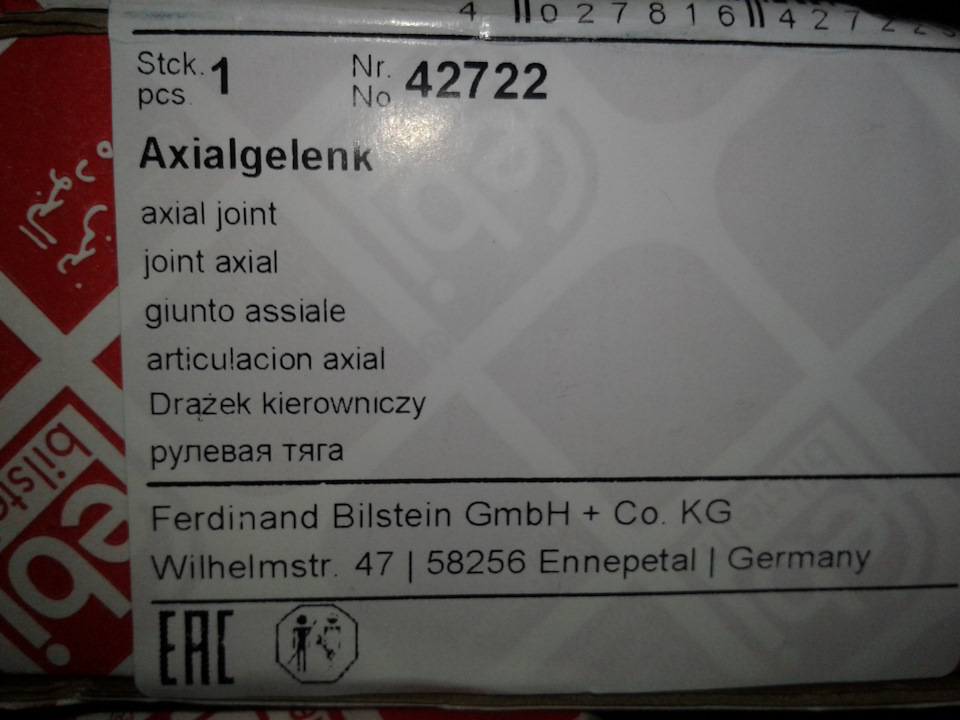
Inner part number
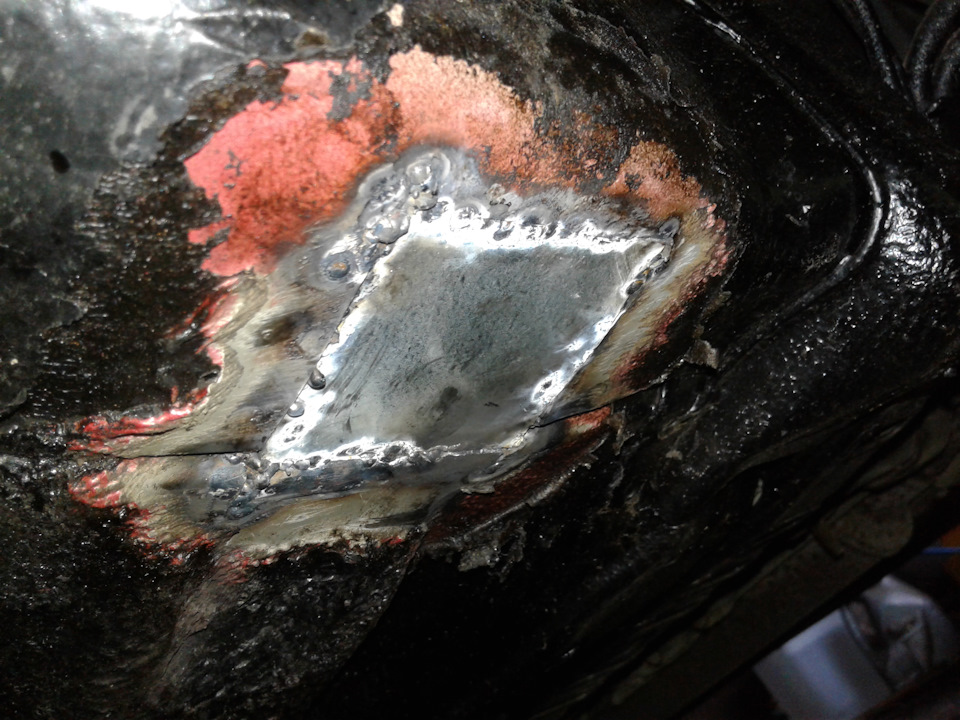
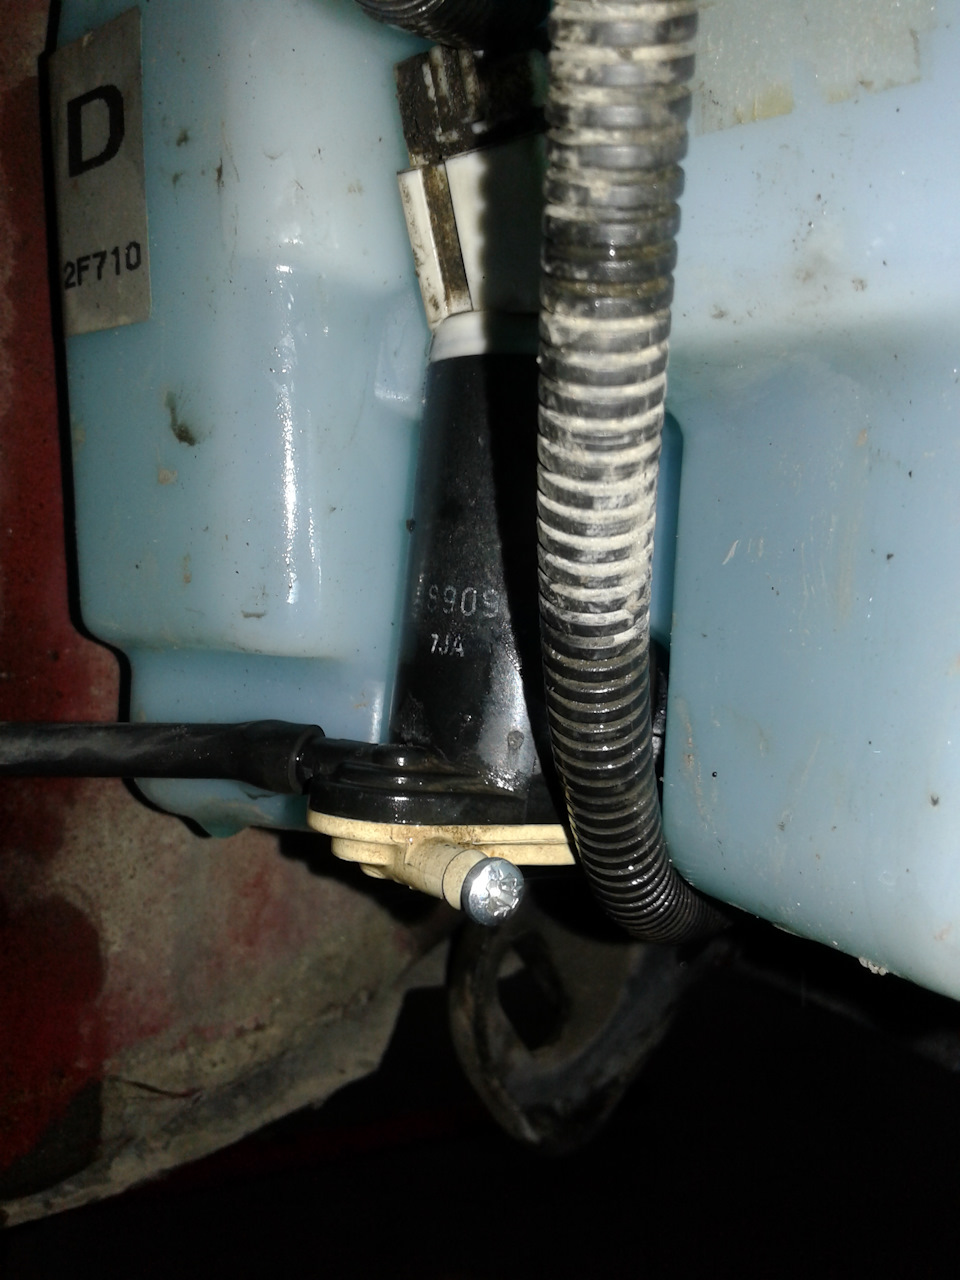
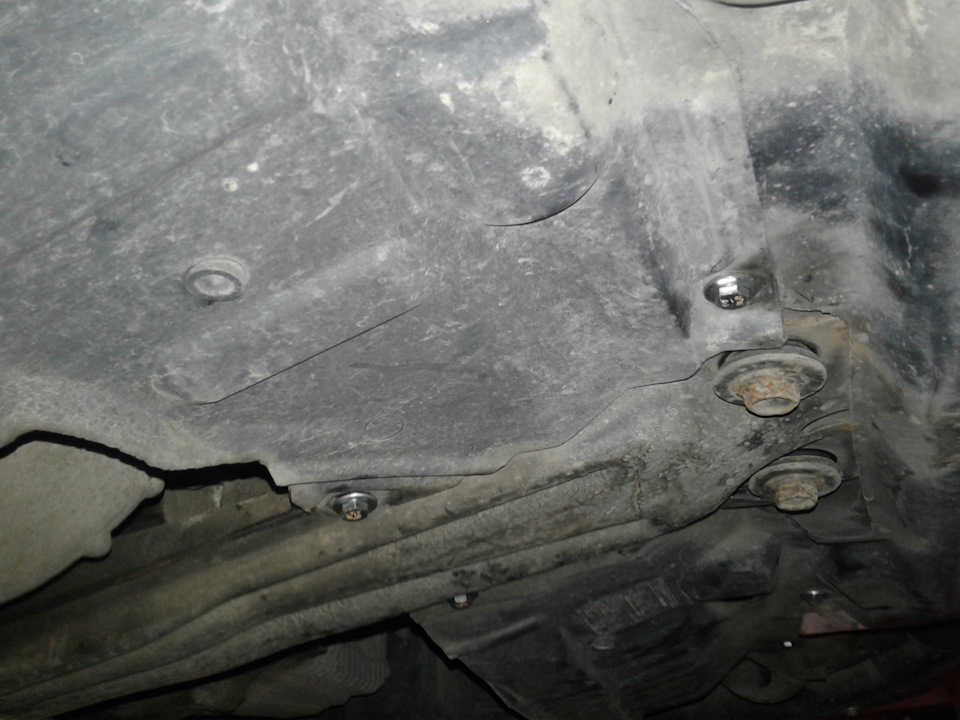
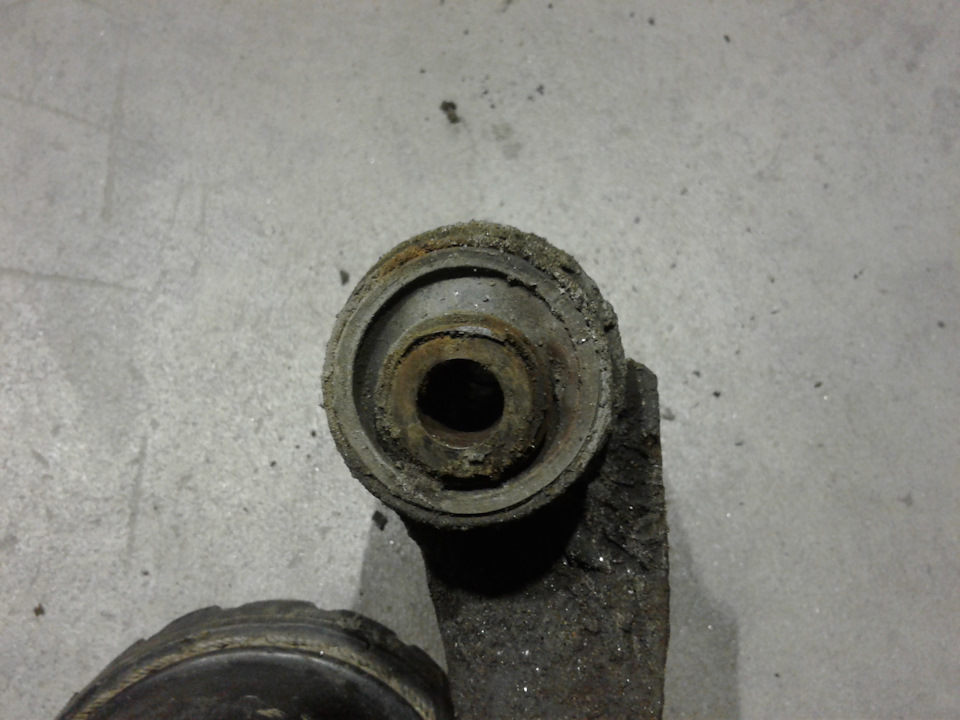
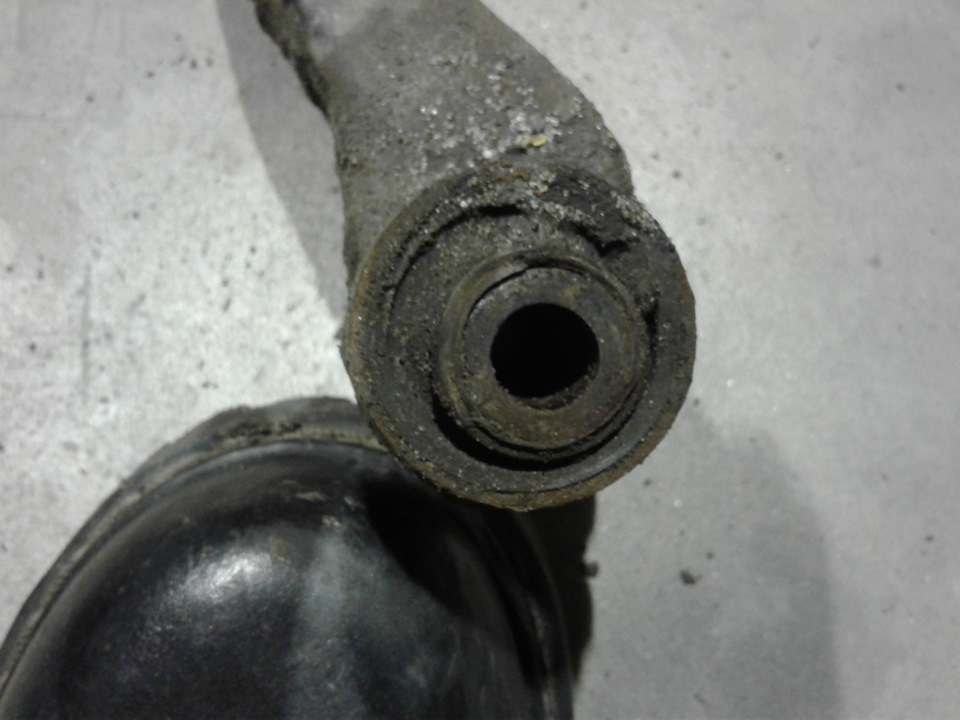
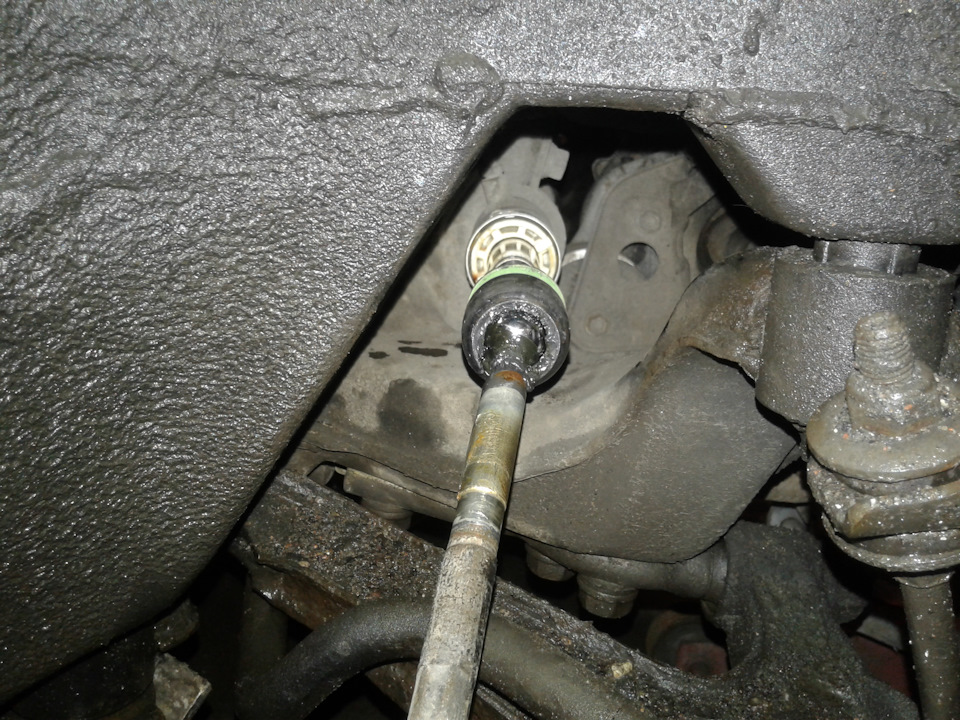
Here's what was revealed under the protective boot. I expeted alot worse.
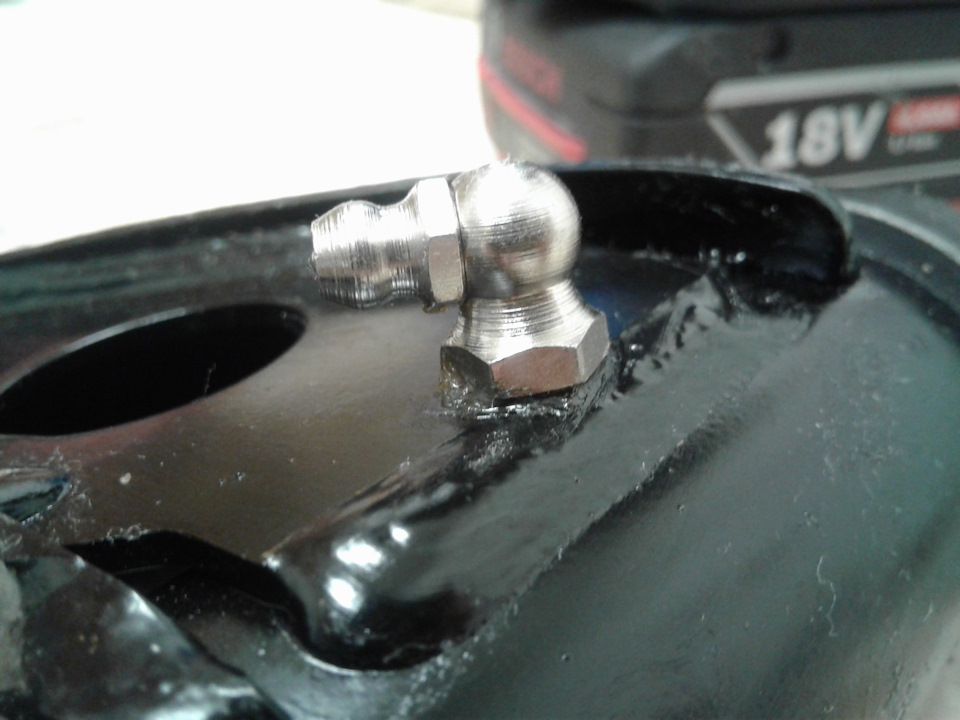
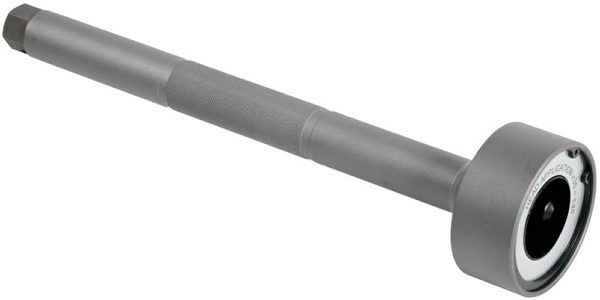
As we know, some of the inner tie rods are equipped with slots that fit a wrench. Well, these weren't, so I had to purchase a special tool for the task. It cost me 54,9€, but saved alot of coarse language and time.
Old vs. New. Almost identical.
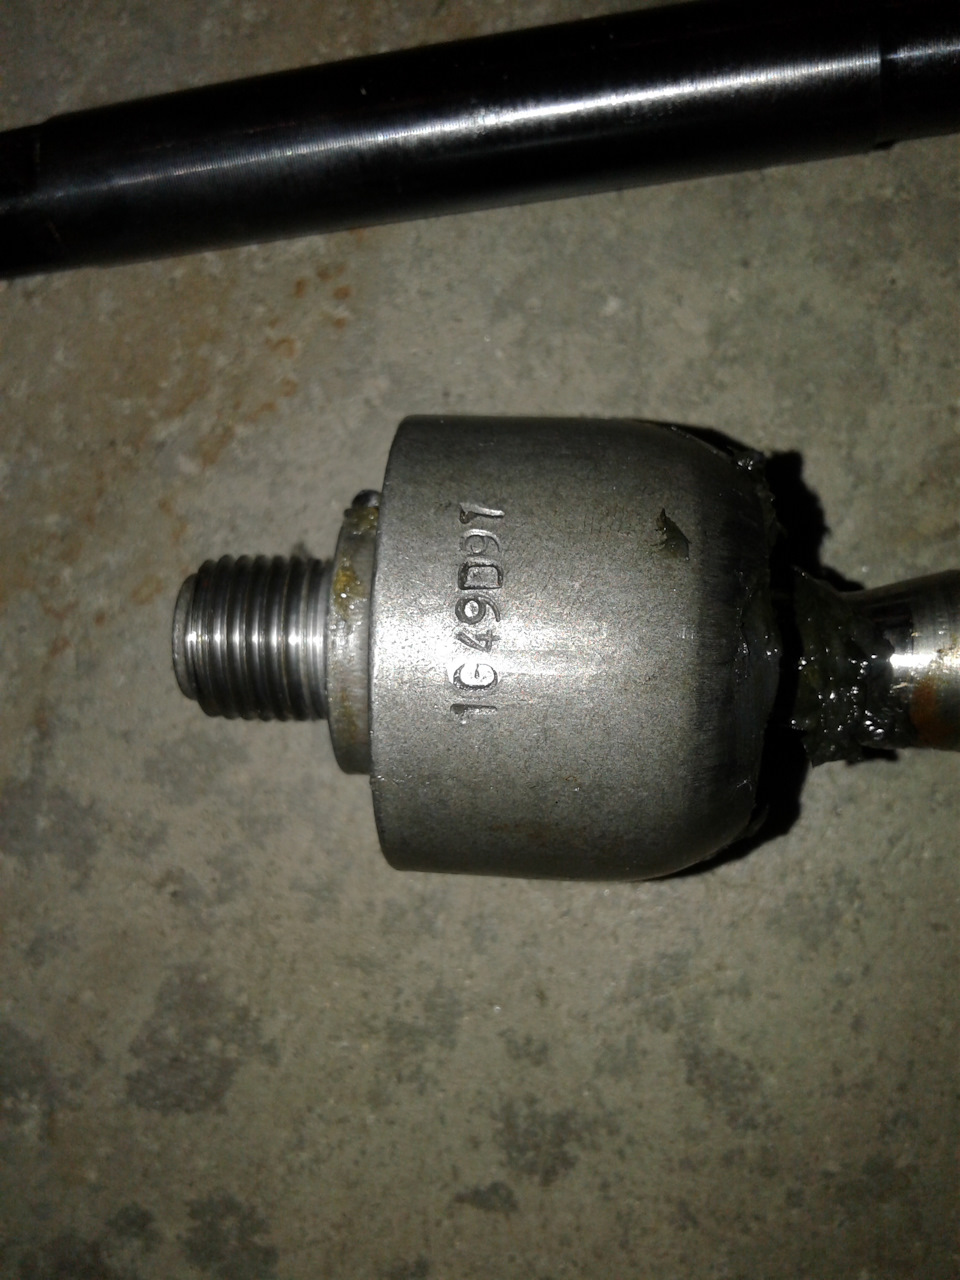
This was the only marking I could find from the old one. I tried to google it but nothing sensible came out.
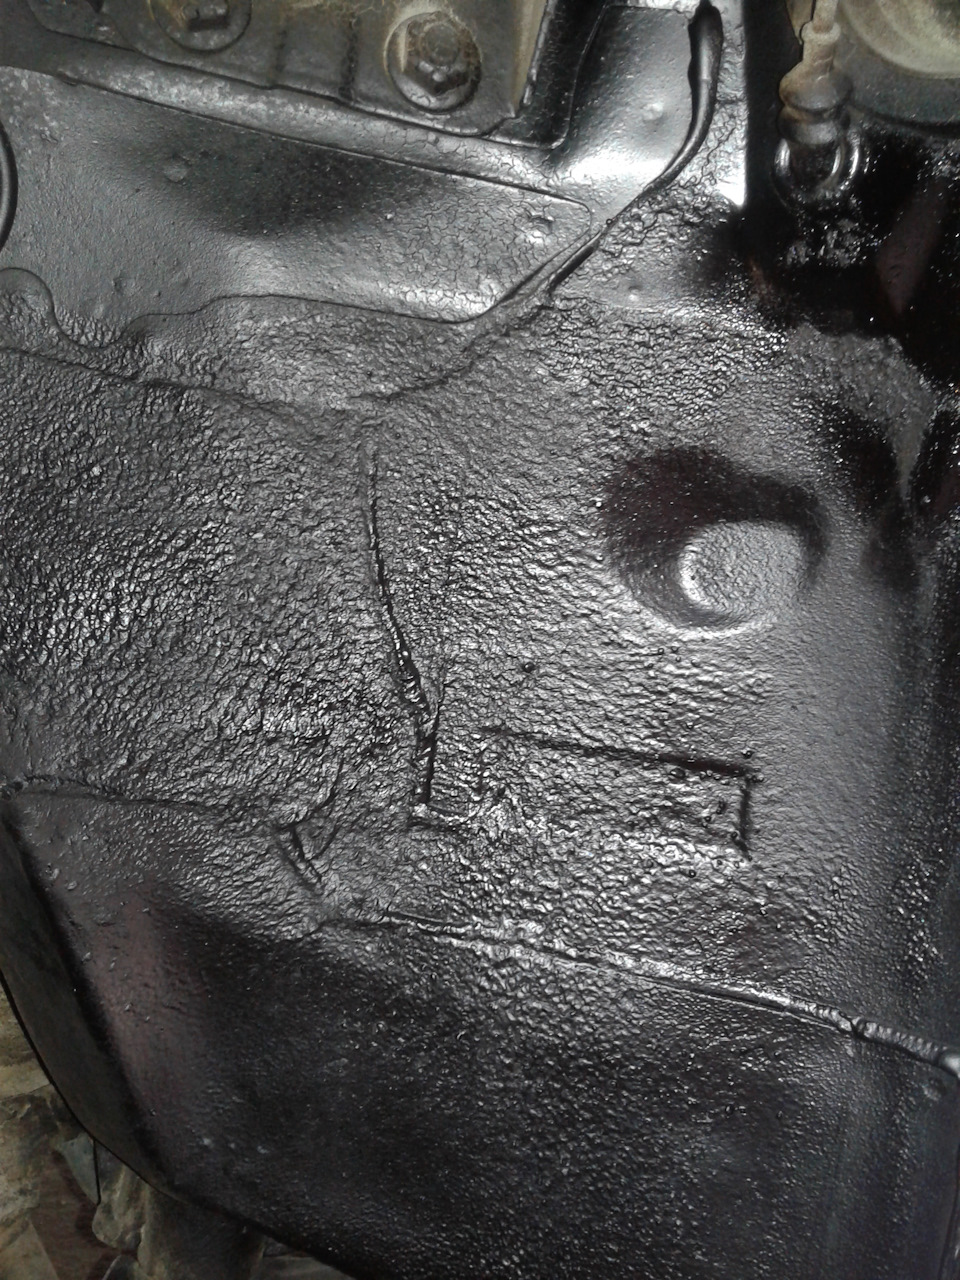
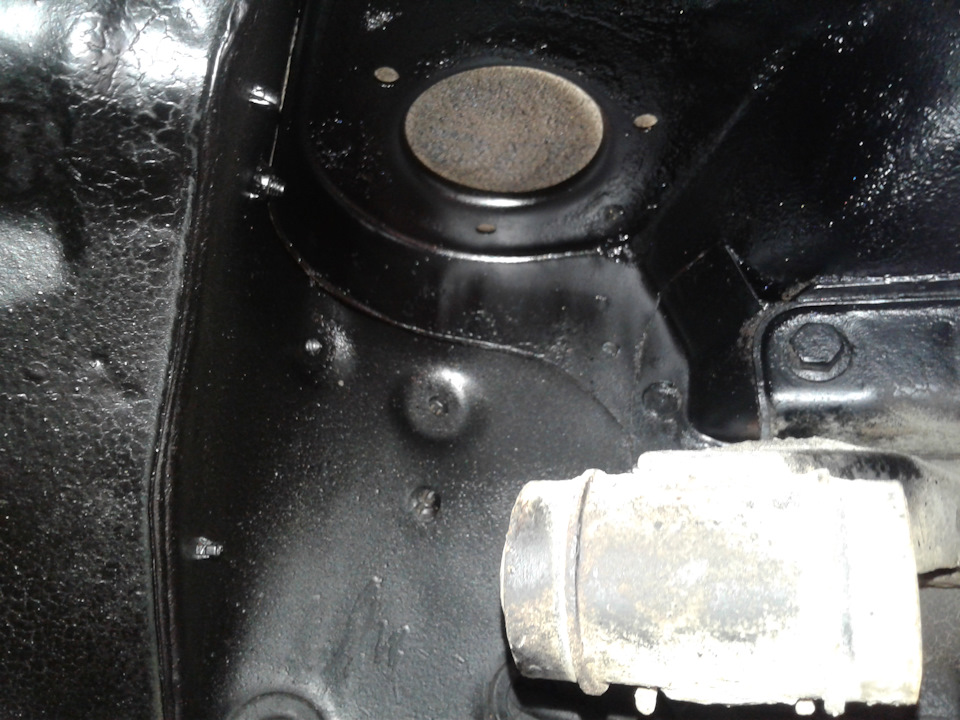
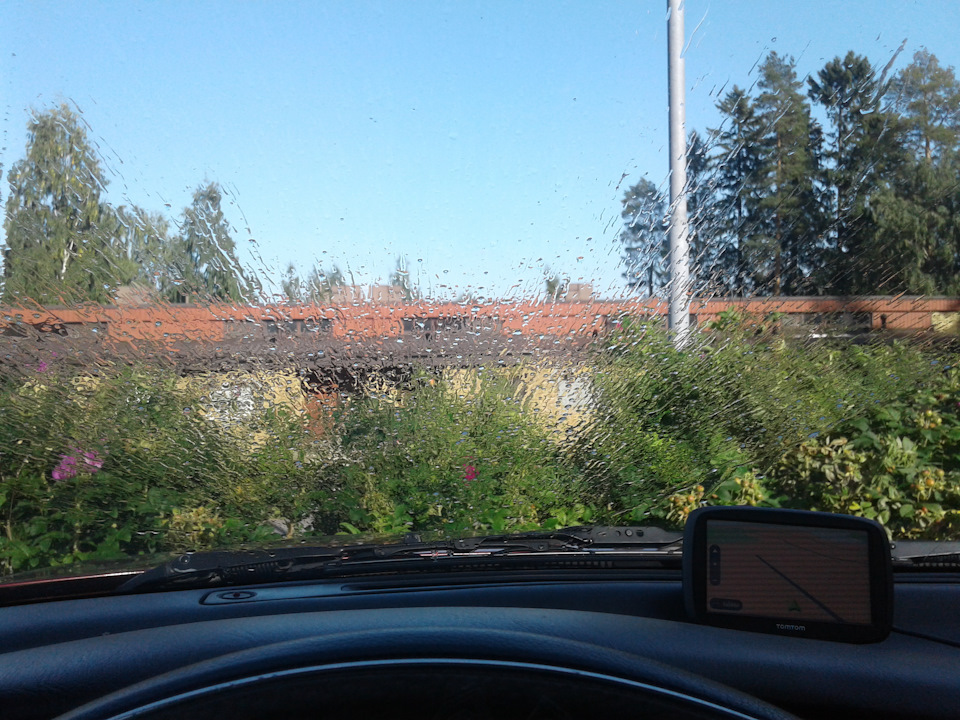
Finally a quick wash to rinse off the road salt.
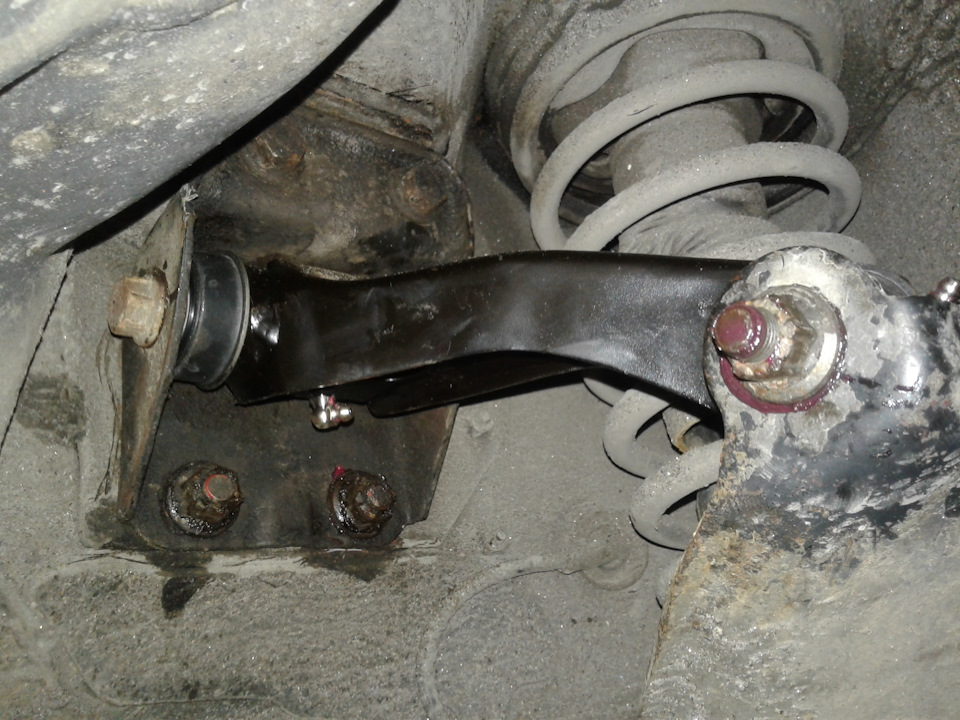
At the moment I'm working with the original top links. The inner bushings have proved to be a royal pain in the ass. They just don't want to come off.
[ Dodano: 2017-12-15, 15:08 ]
Small updates.
Lately I haven't really done much to the car. It has been working rather well, so I've just driven it.
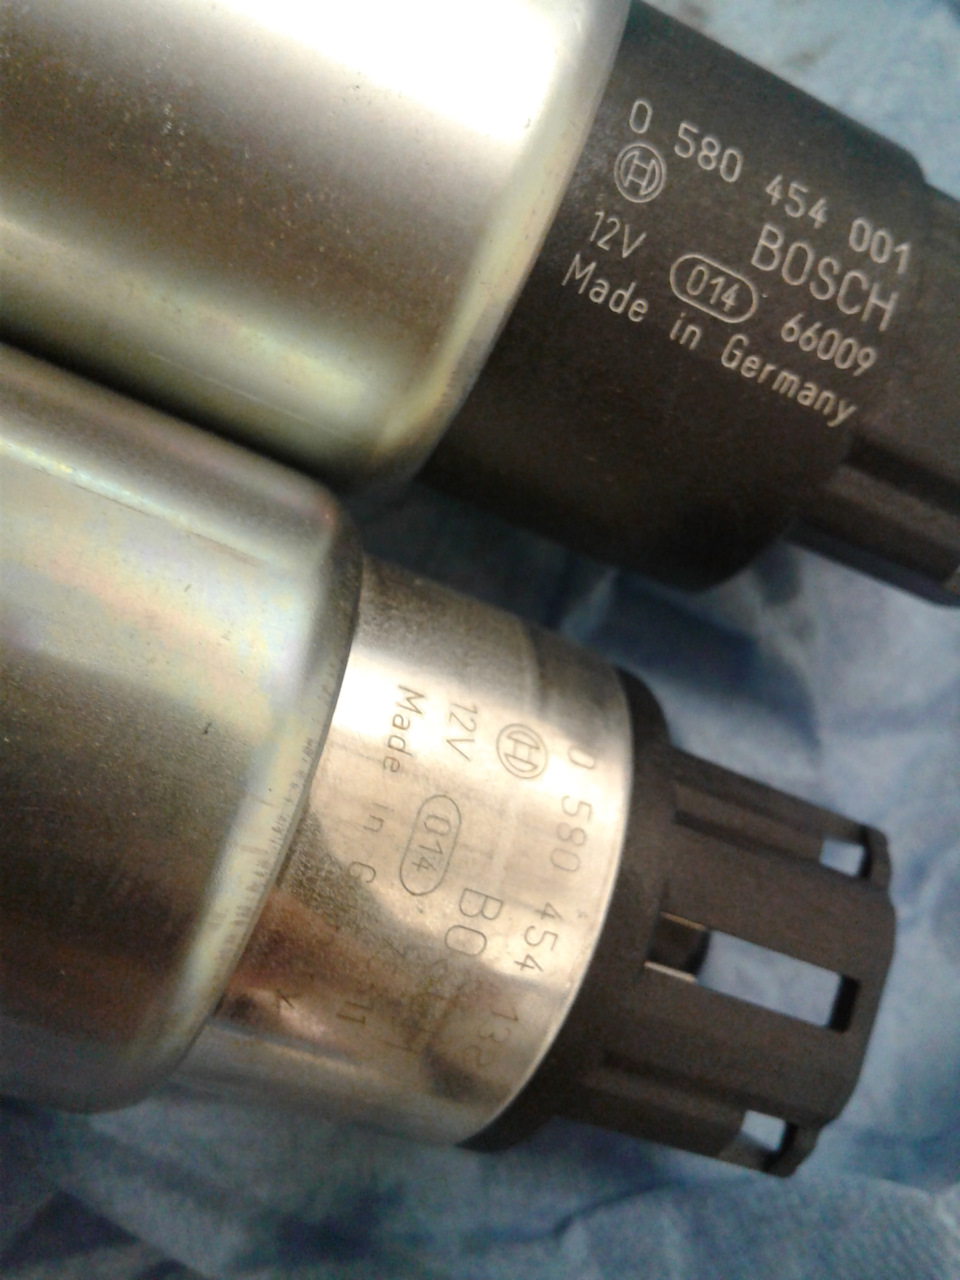
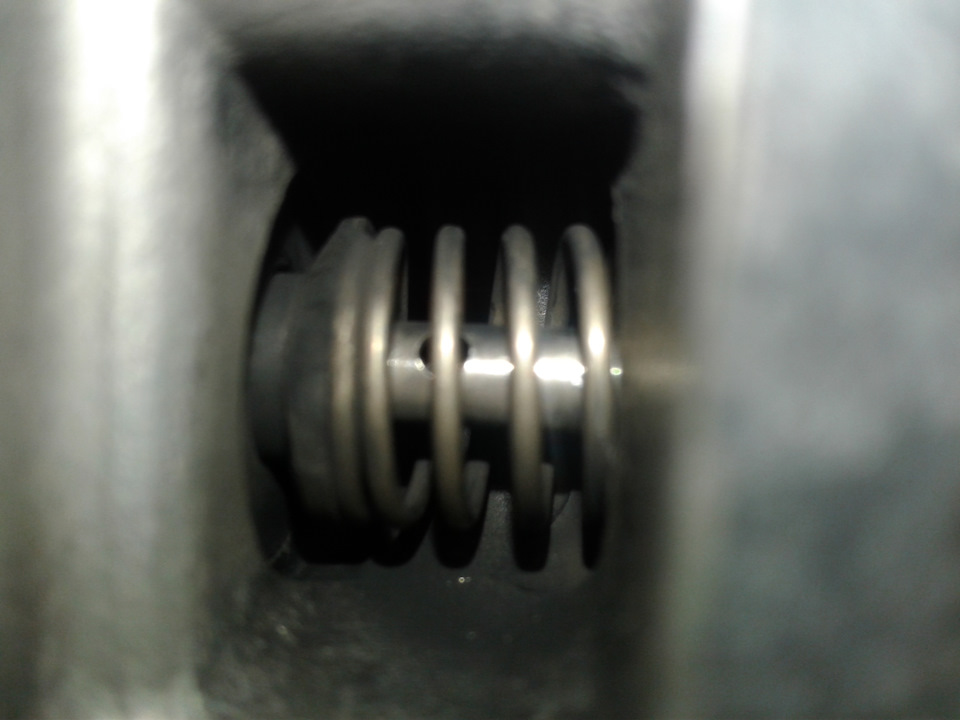
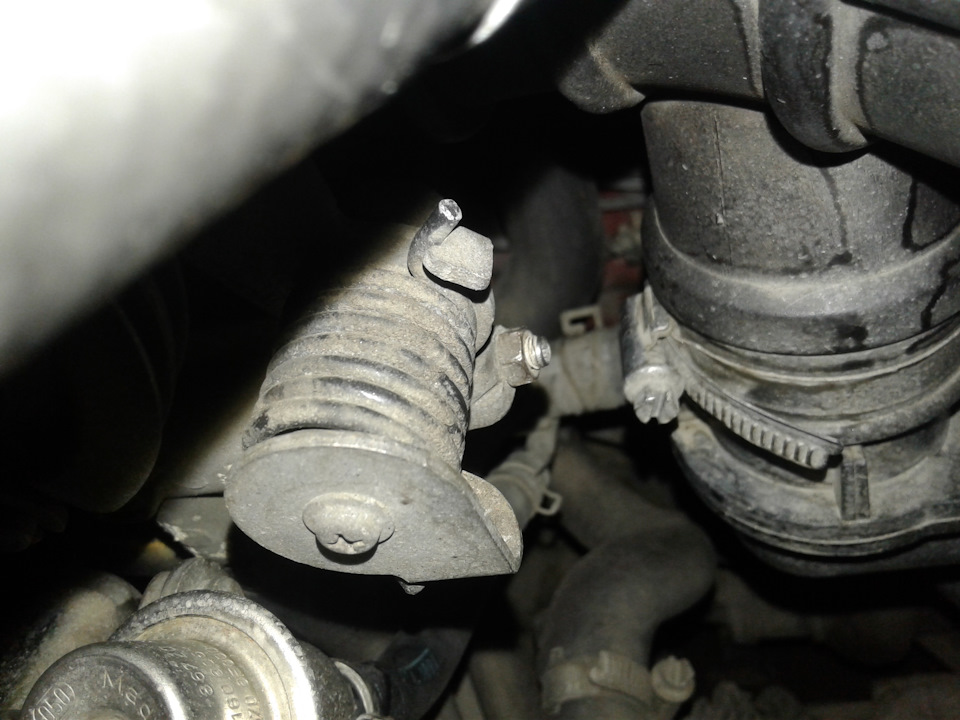
However, I replaced the AAC- valve assembly with a "new" one, sinve the plunger on the original one was broken.
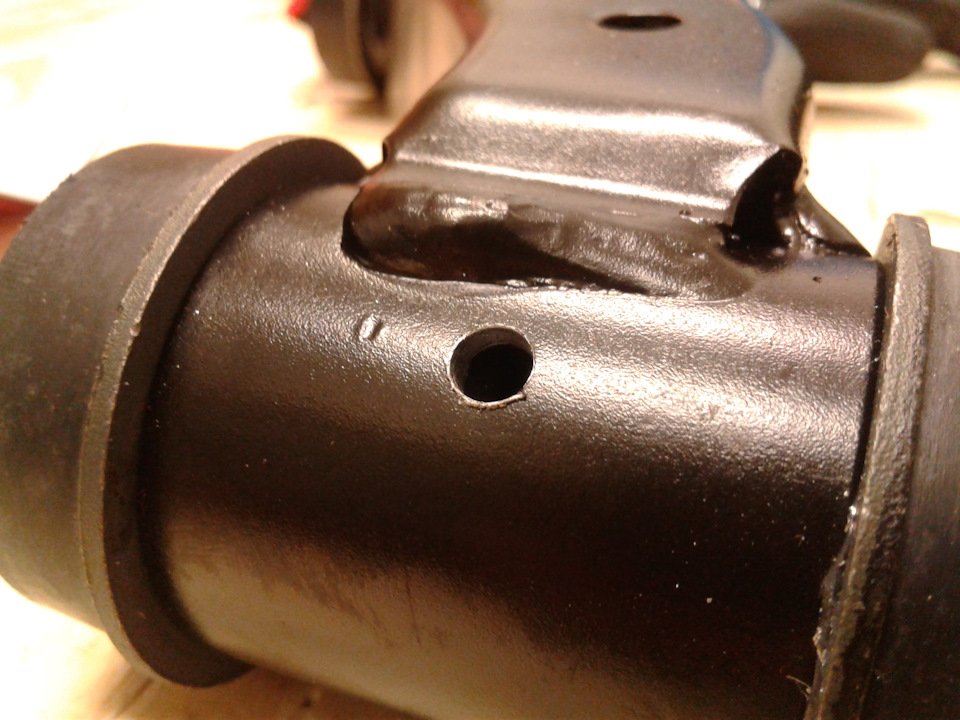
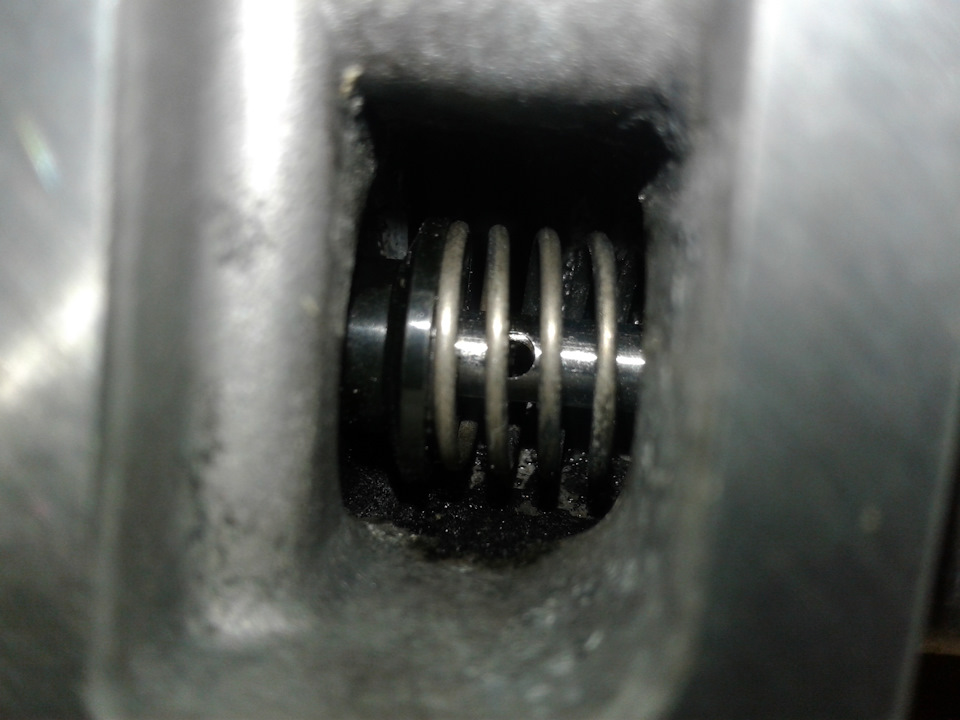
Here's a bad picture of the broken plunger. As you might see, a small pieve is missing. Luckily the engine did not digest it and I found it resting against the spring.
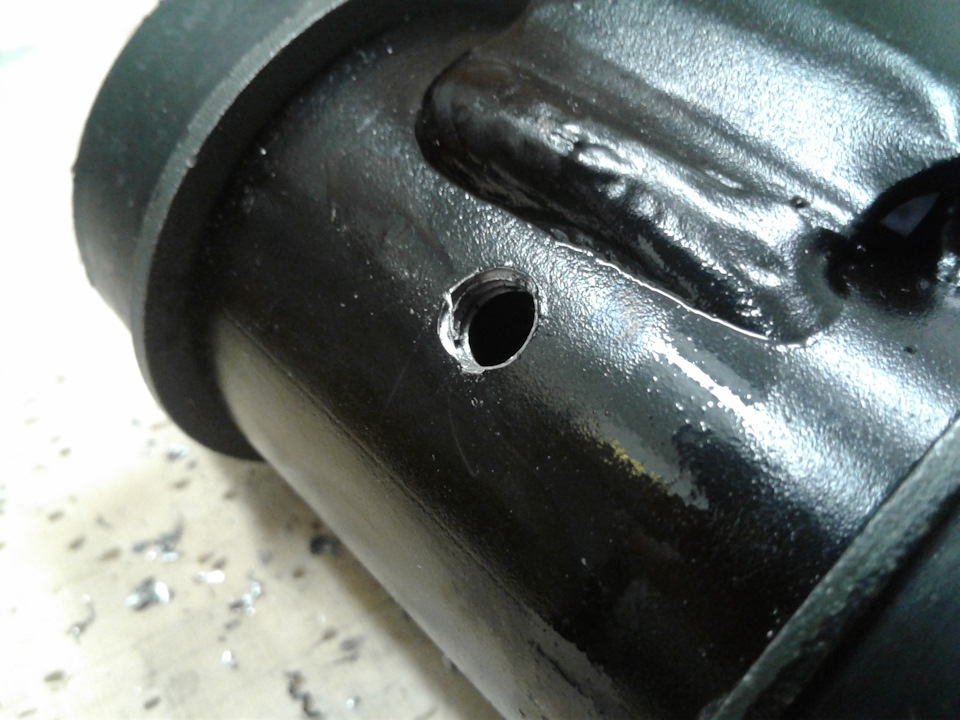
This is taken from the new valve.
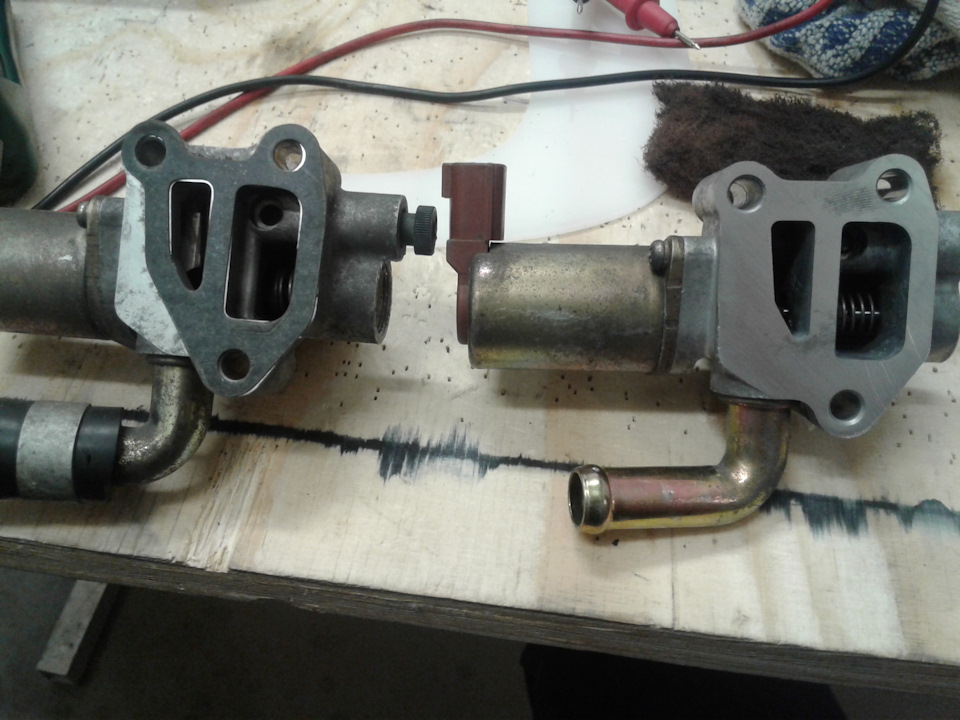
Old vs. new. Before installing the new valve, I straightened the gasket surface to ensure a good seal.
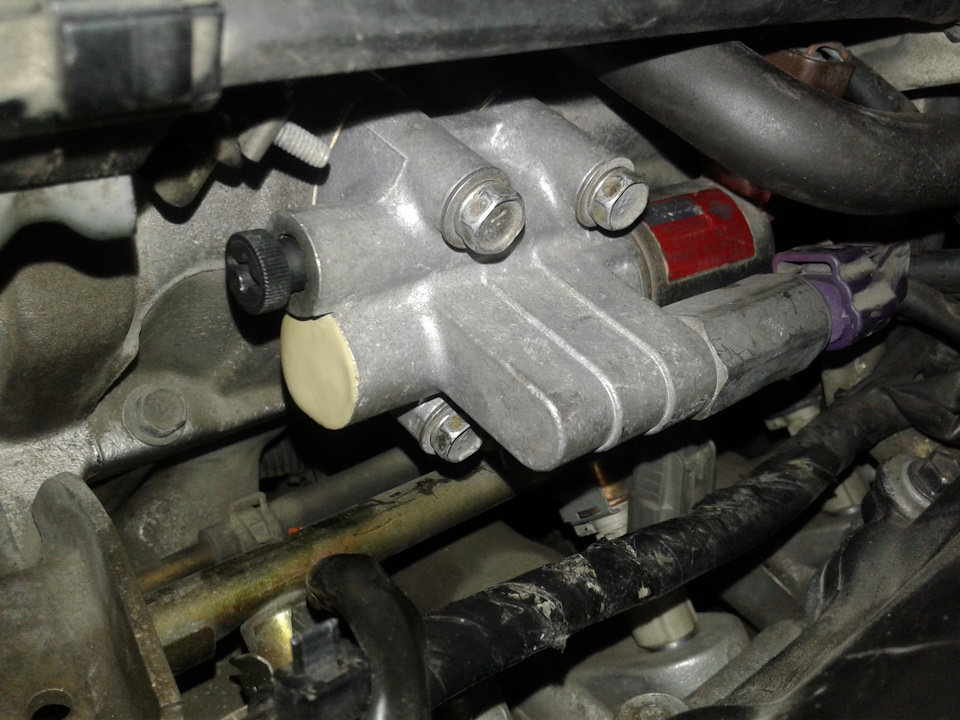
New one installed.
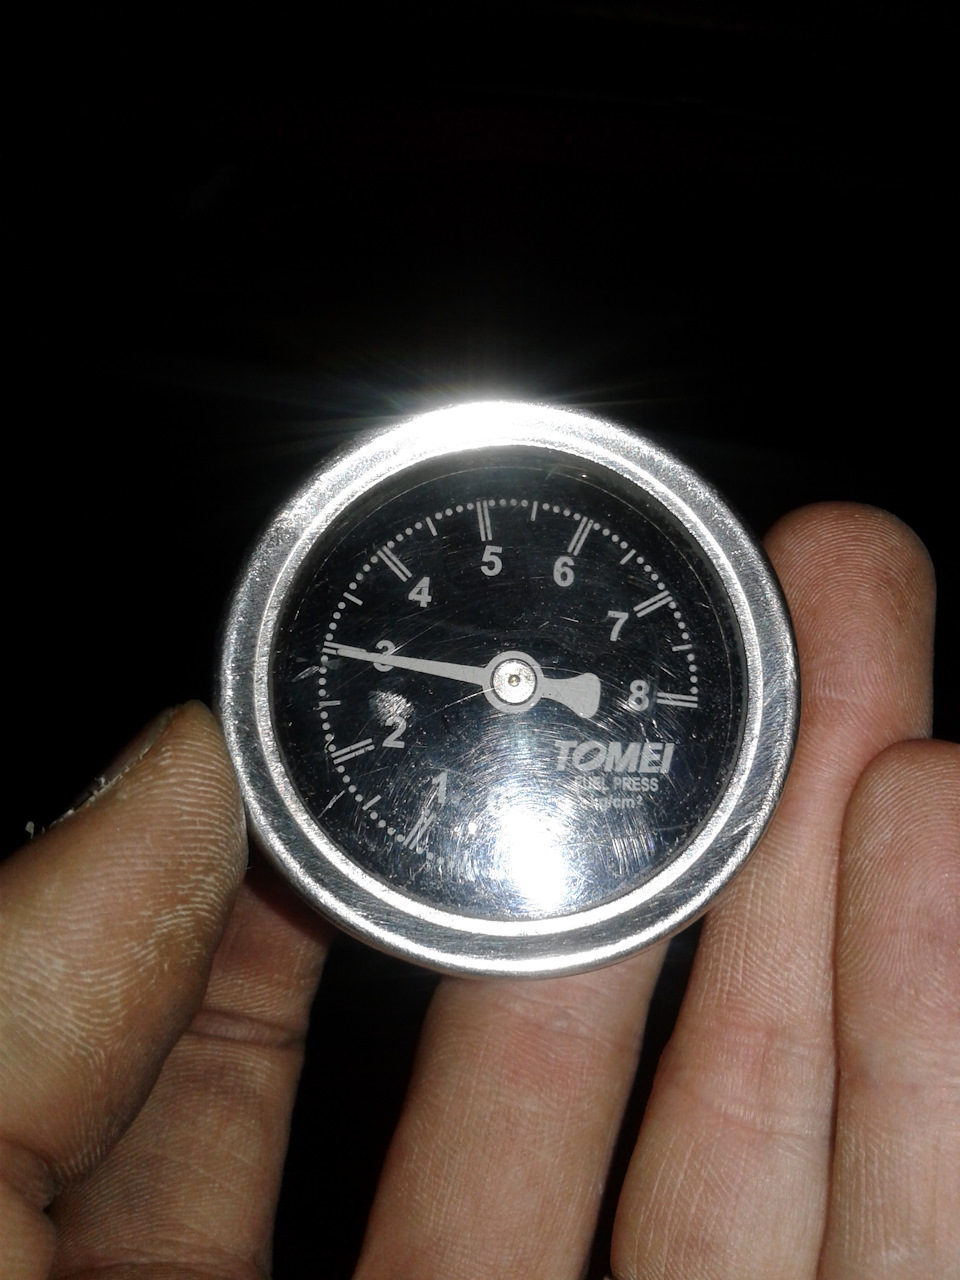
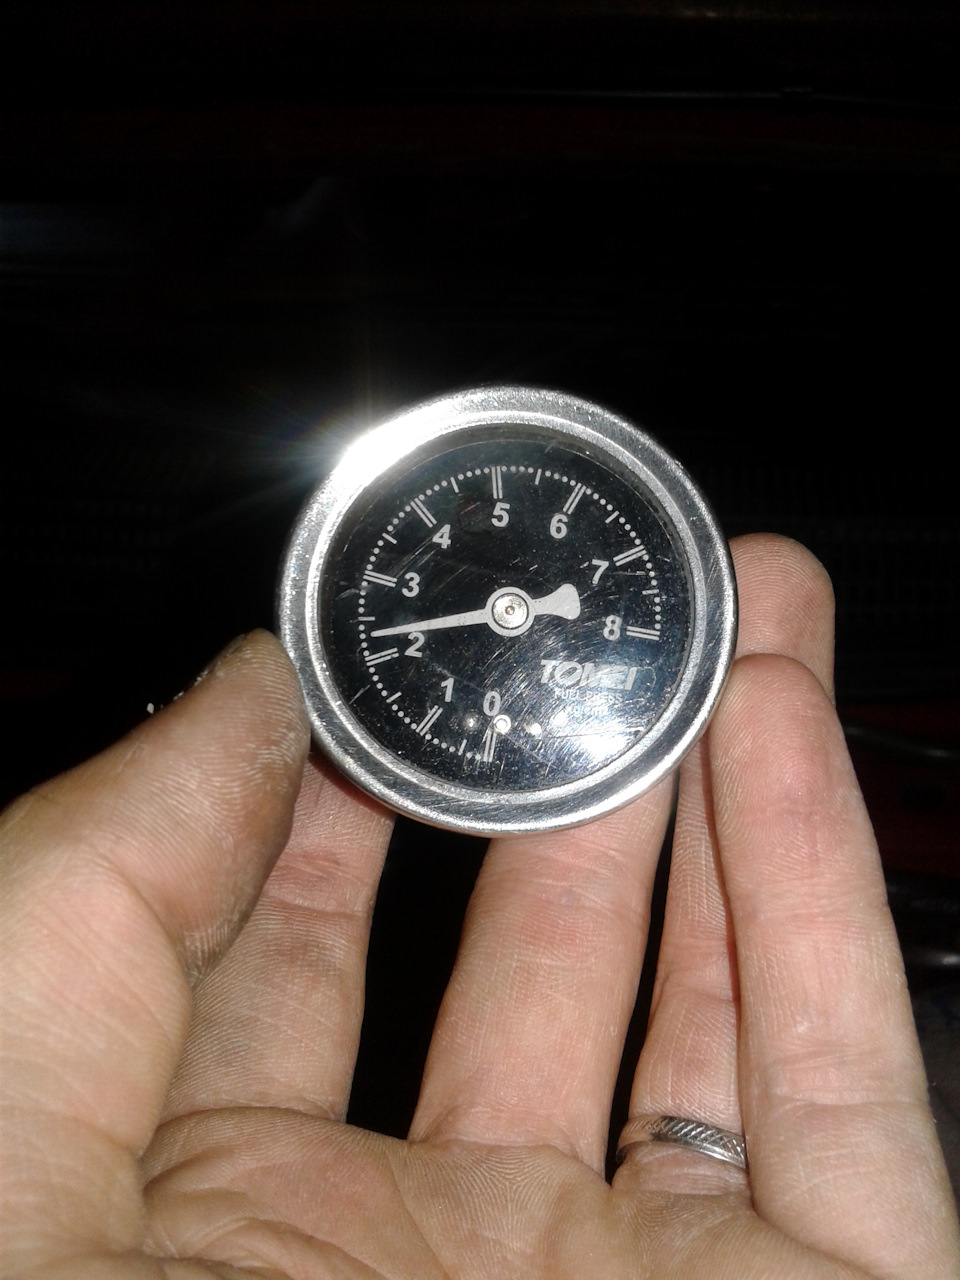
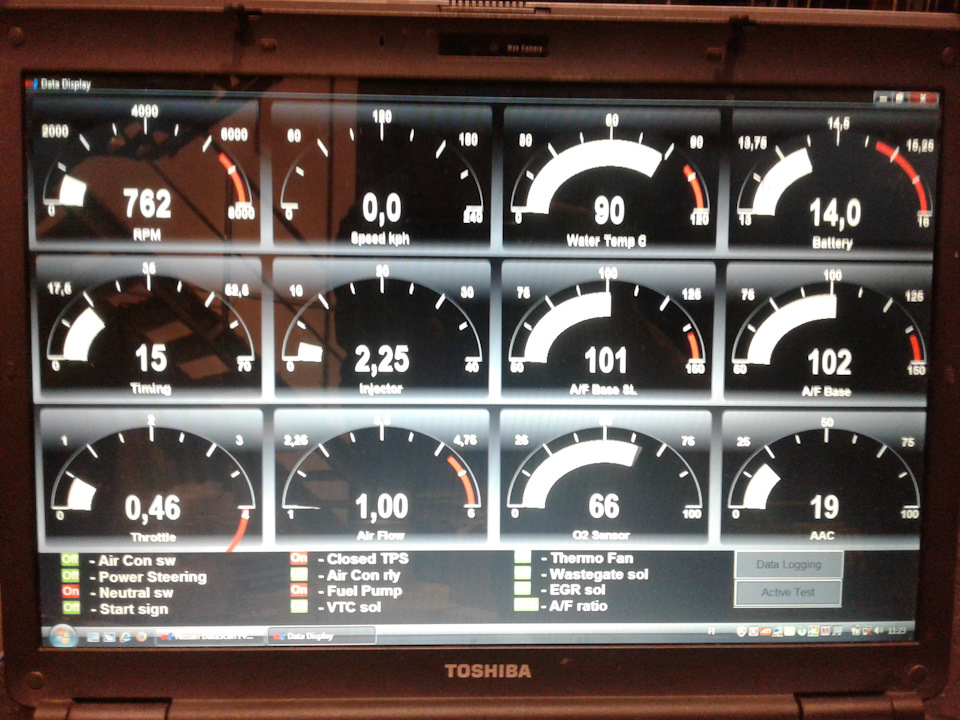
I used Datascan to test it. Works just like it should.
After that I adjusted the base idle & timing.
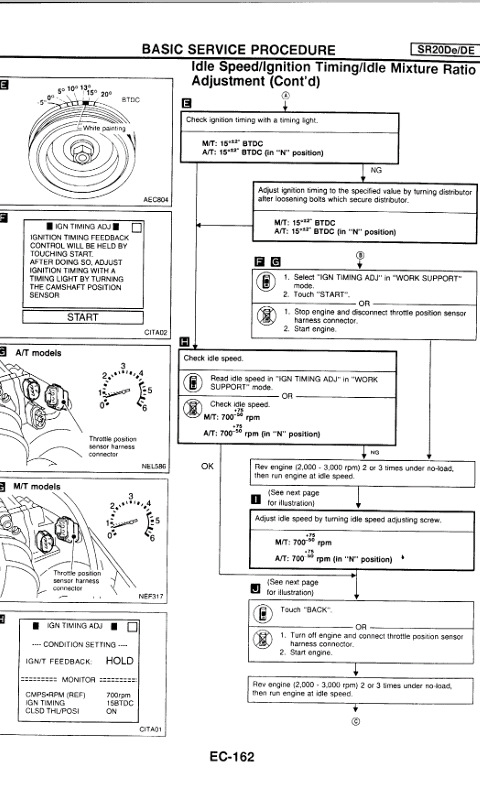
Someone had been messing with the fast idle cam, so it had to be re- adjusted. There are instructions to this procedure in the FSM.
The thermo wax reacts to the coolant temperature and actuates a pushrod, which rotates a cam that moves the throttle plate. This is what causes the high idle when the engine is cold. Adjustmend is made by either increasing or decreasing the gap "A" by turning the adjustmend screw "S".

Nissan has a nice little chart that tells you how big the gap "A" should be at certain temperatures.
And finally the whole thing in real life:
Gap "A"
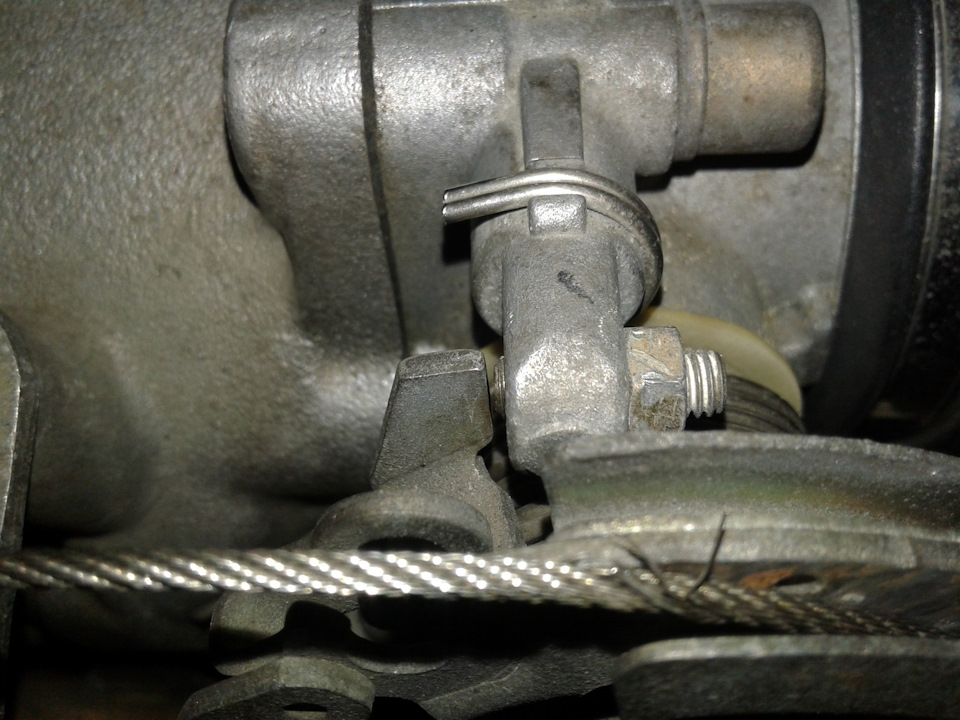
Screw "S"
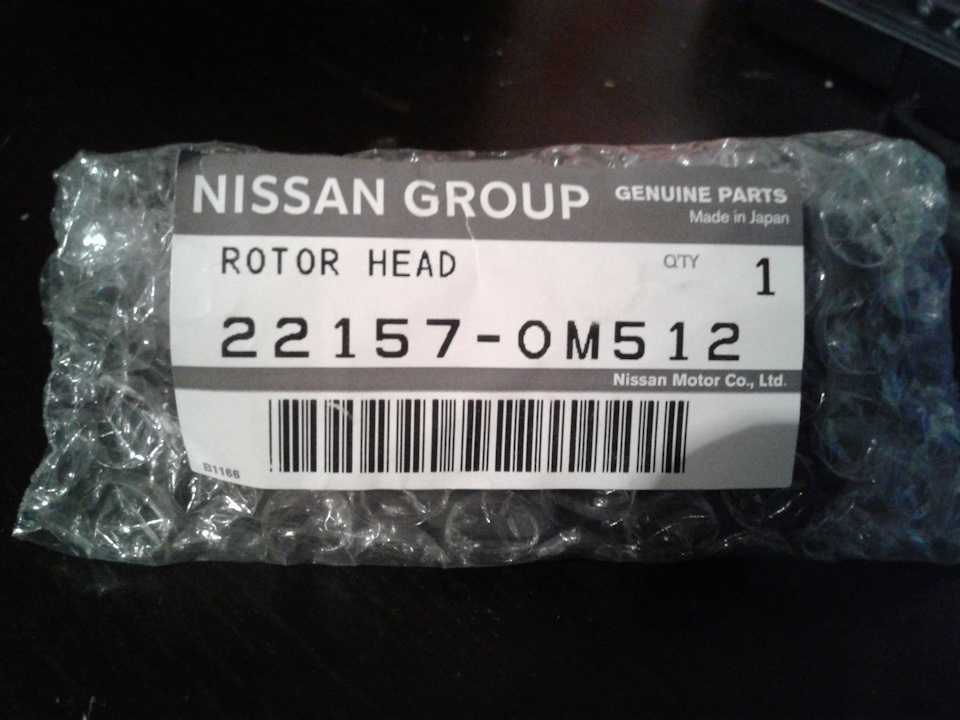
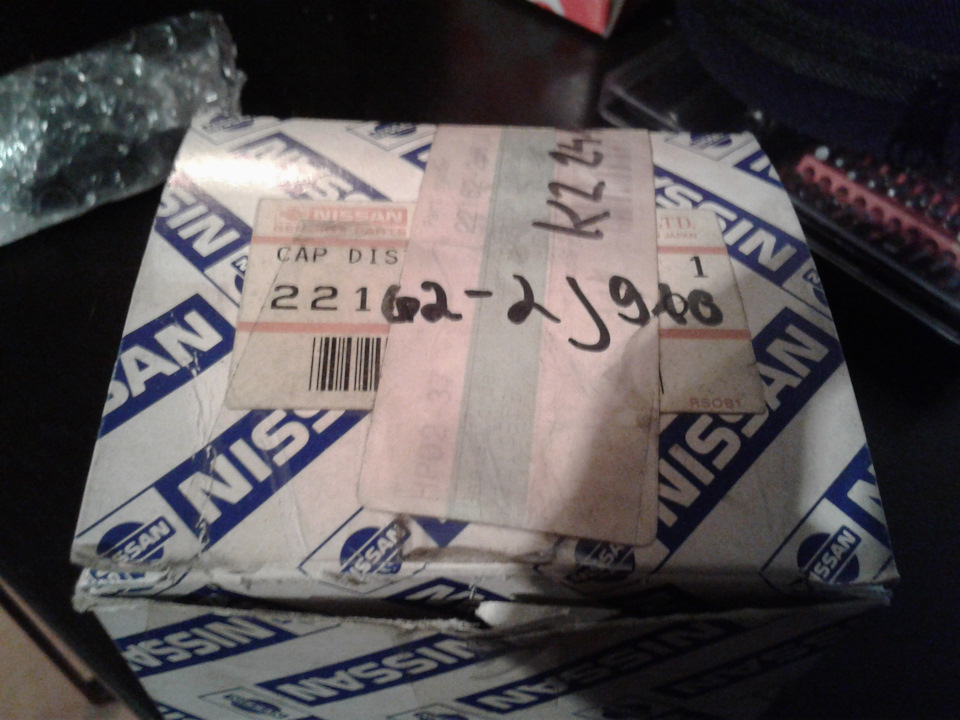
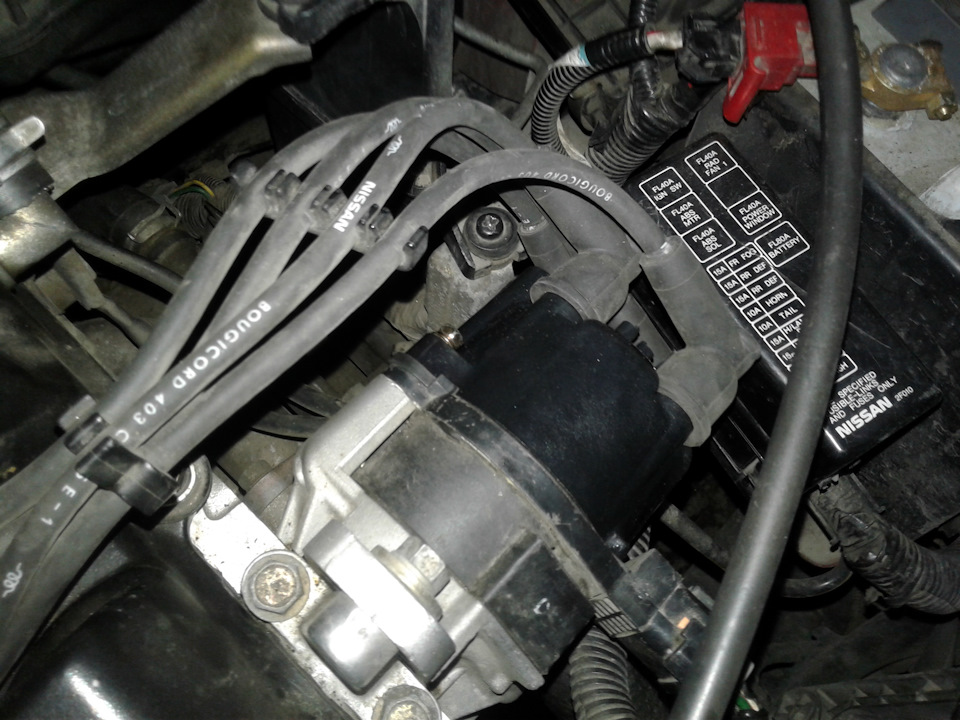
The latest repair has been the replacement of the distributor cap and rotor. I had some shitty aftermarket ones which came with the reconditioned distributor. I swapped them to new OEM- ones and the difference was obvious.
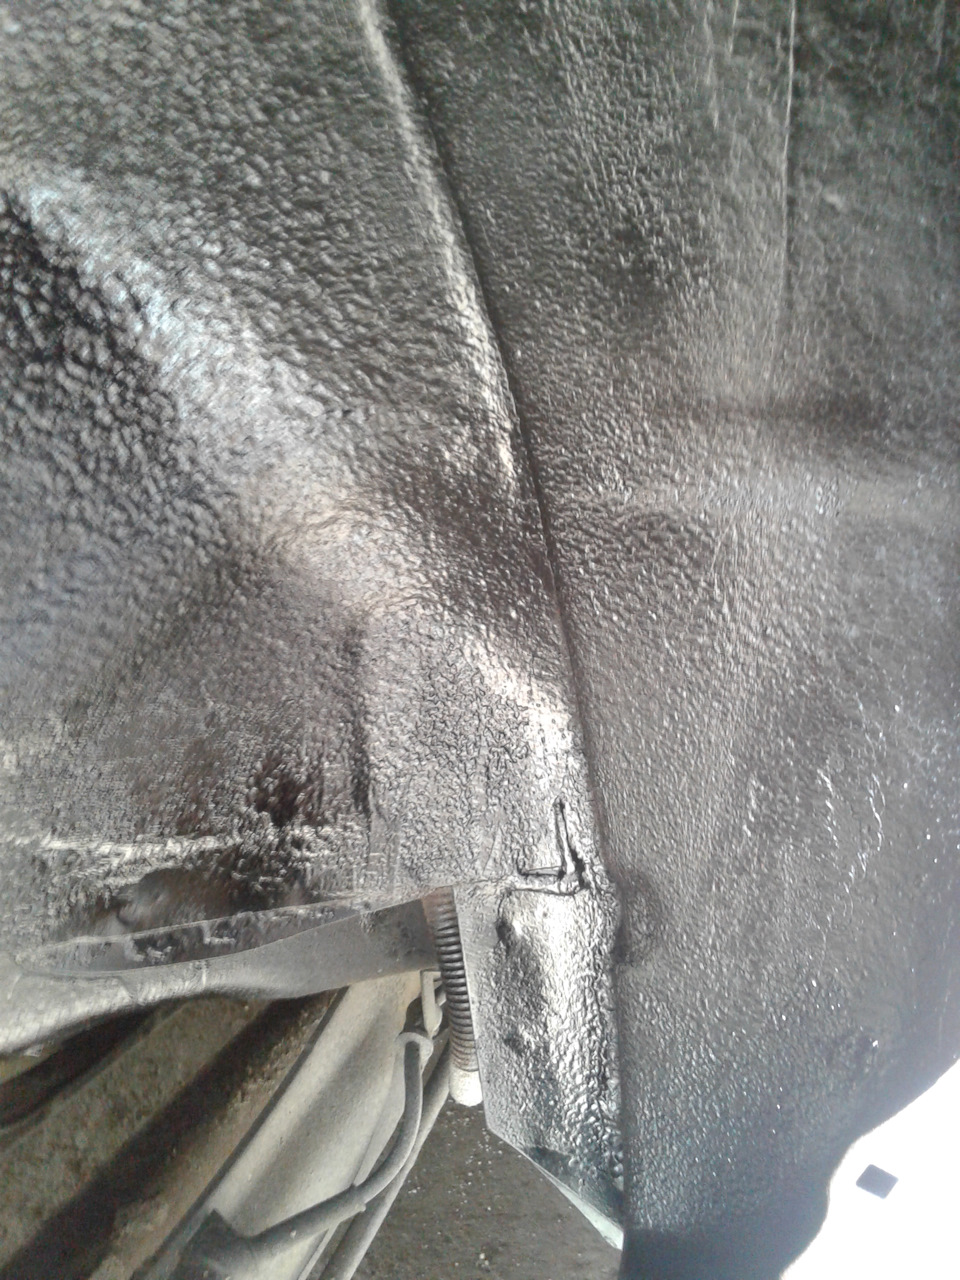
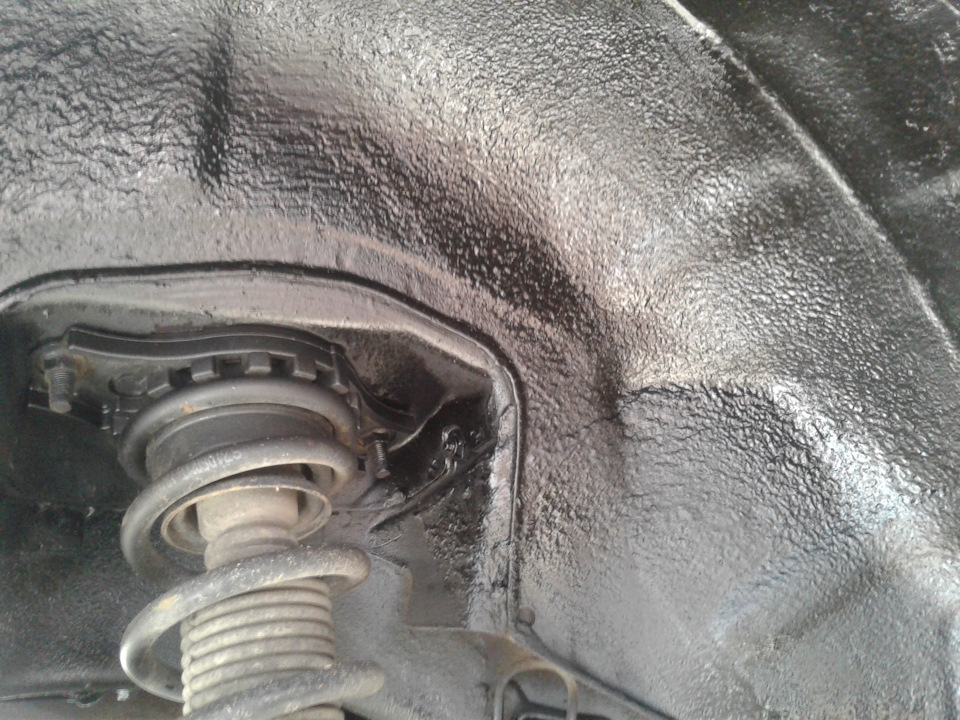
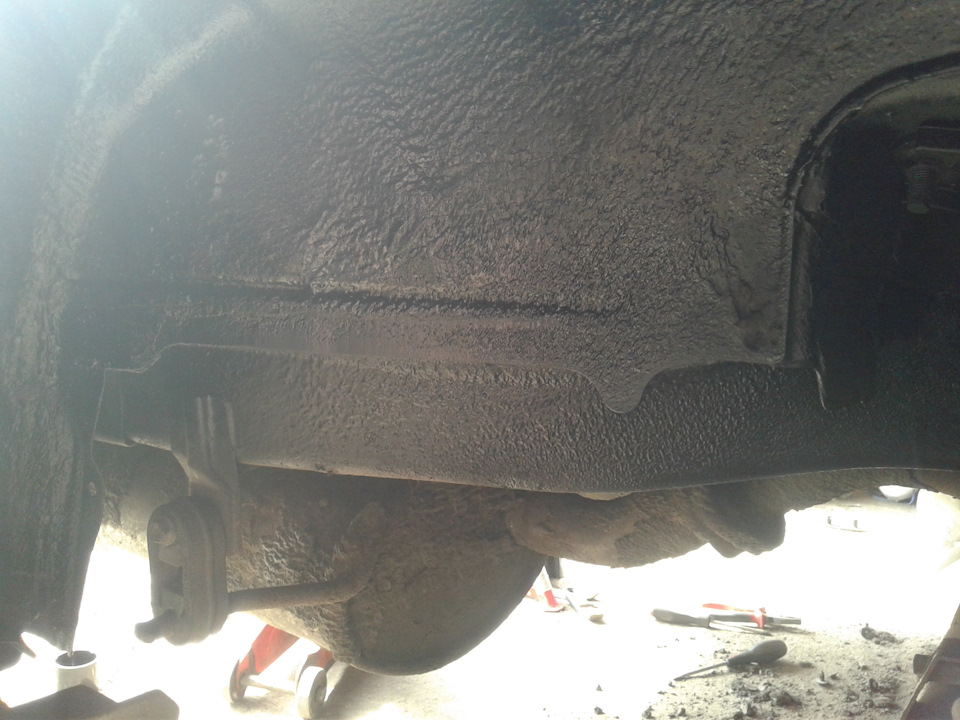
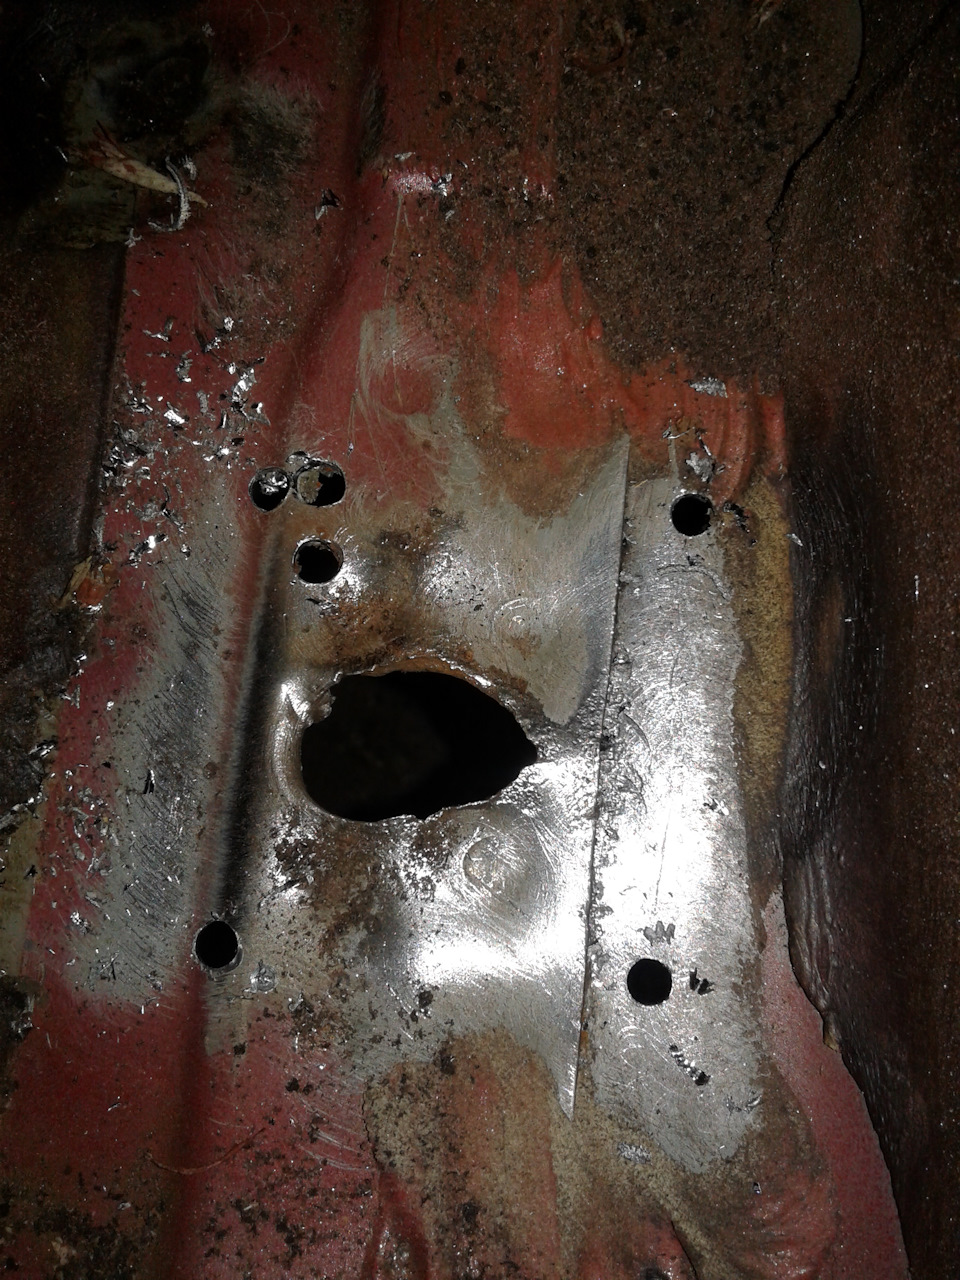
Now I'm planning to buy a 1997 P11 GT for spare parts. It has alot of good parts left, but the rear axle mounts have corroded so badly that the car cannot be driven anymore and it's not worth the trouble to repair it. It's also been snowing like there's no tomorrow lately. I really need a wheel alignment...
[ Dodano: 2017-12-24, 13:22 ]
Merry christmas to all of you!
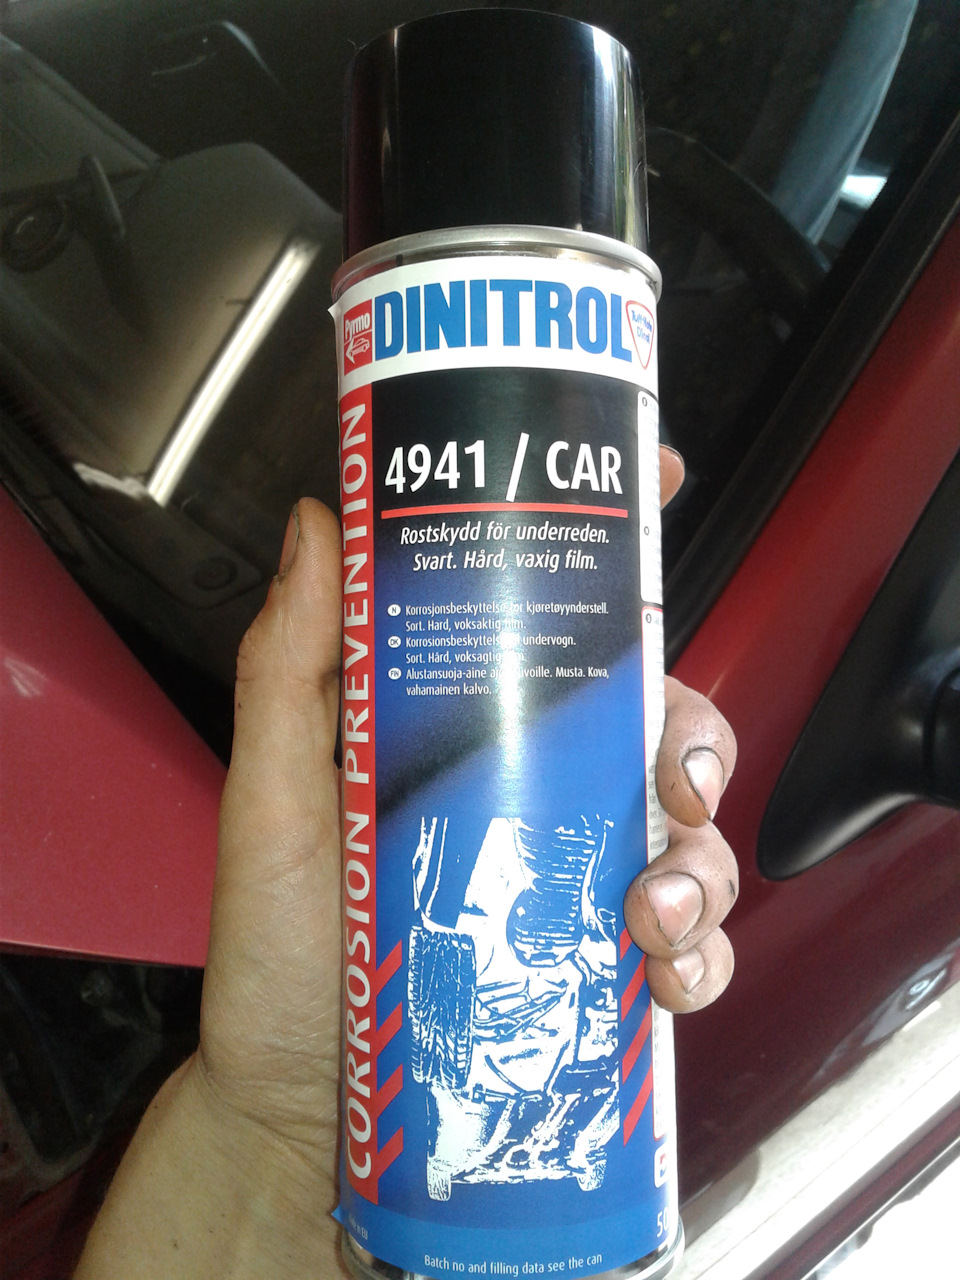
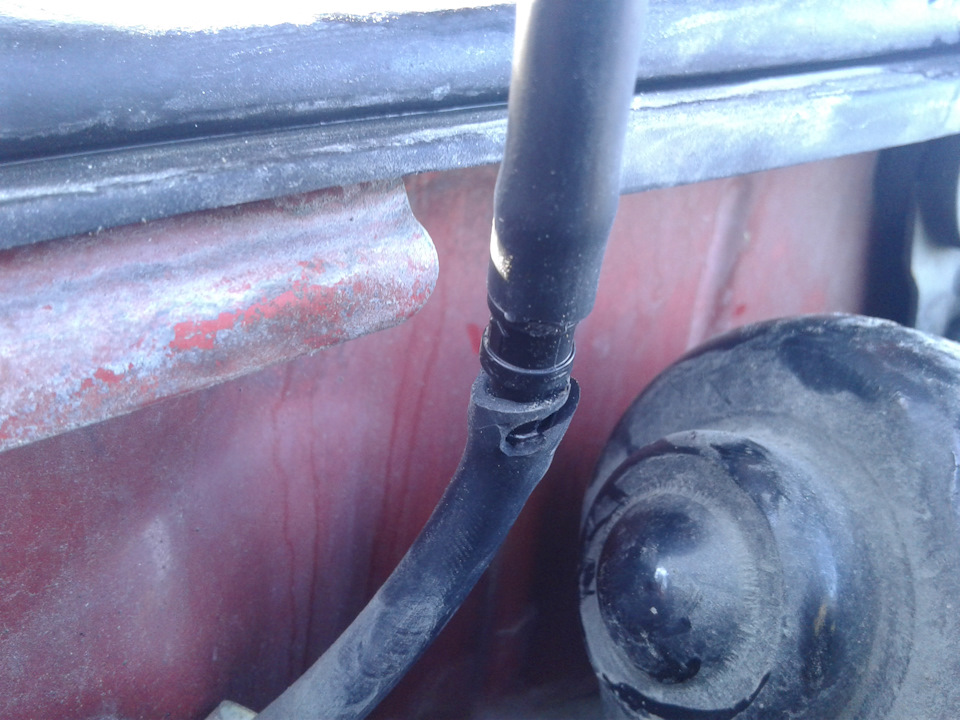
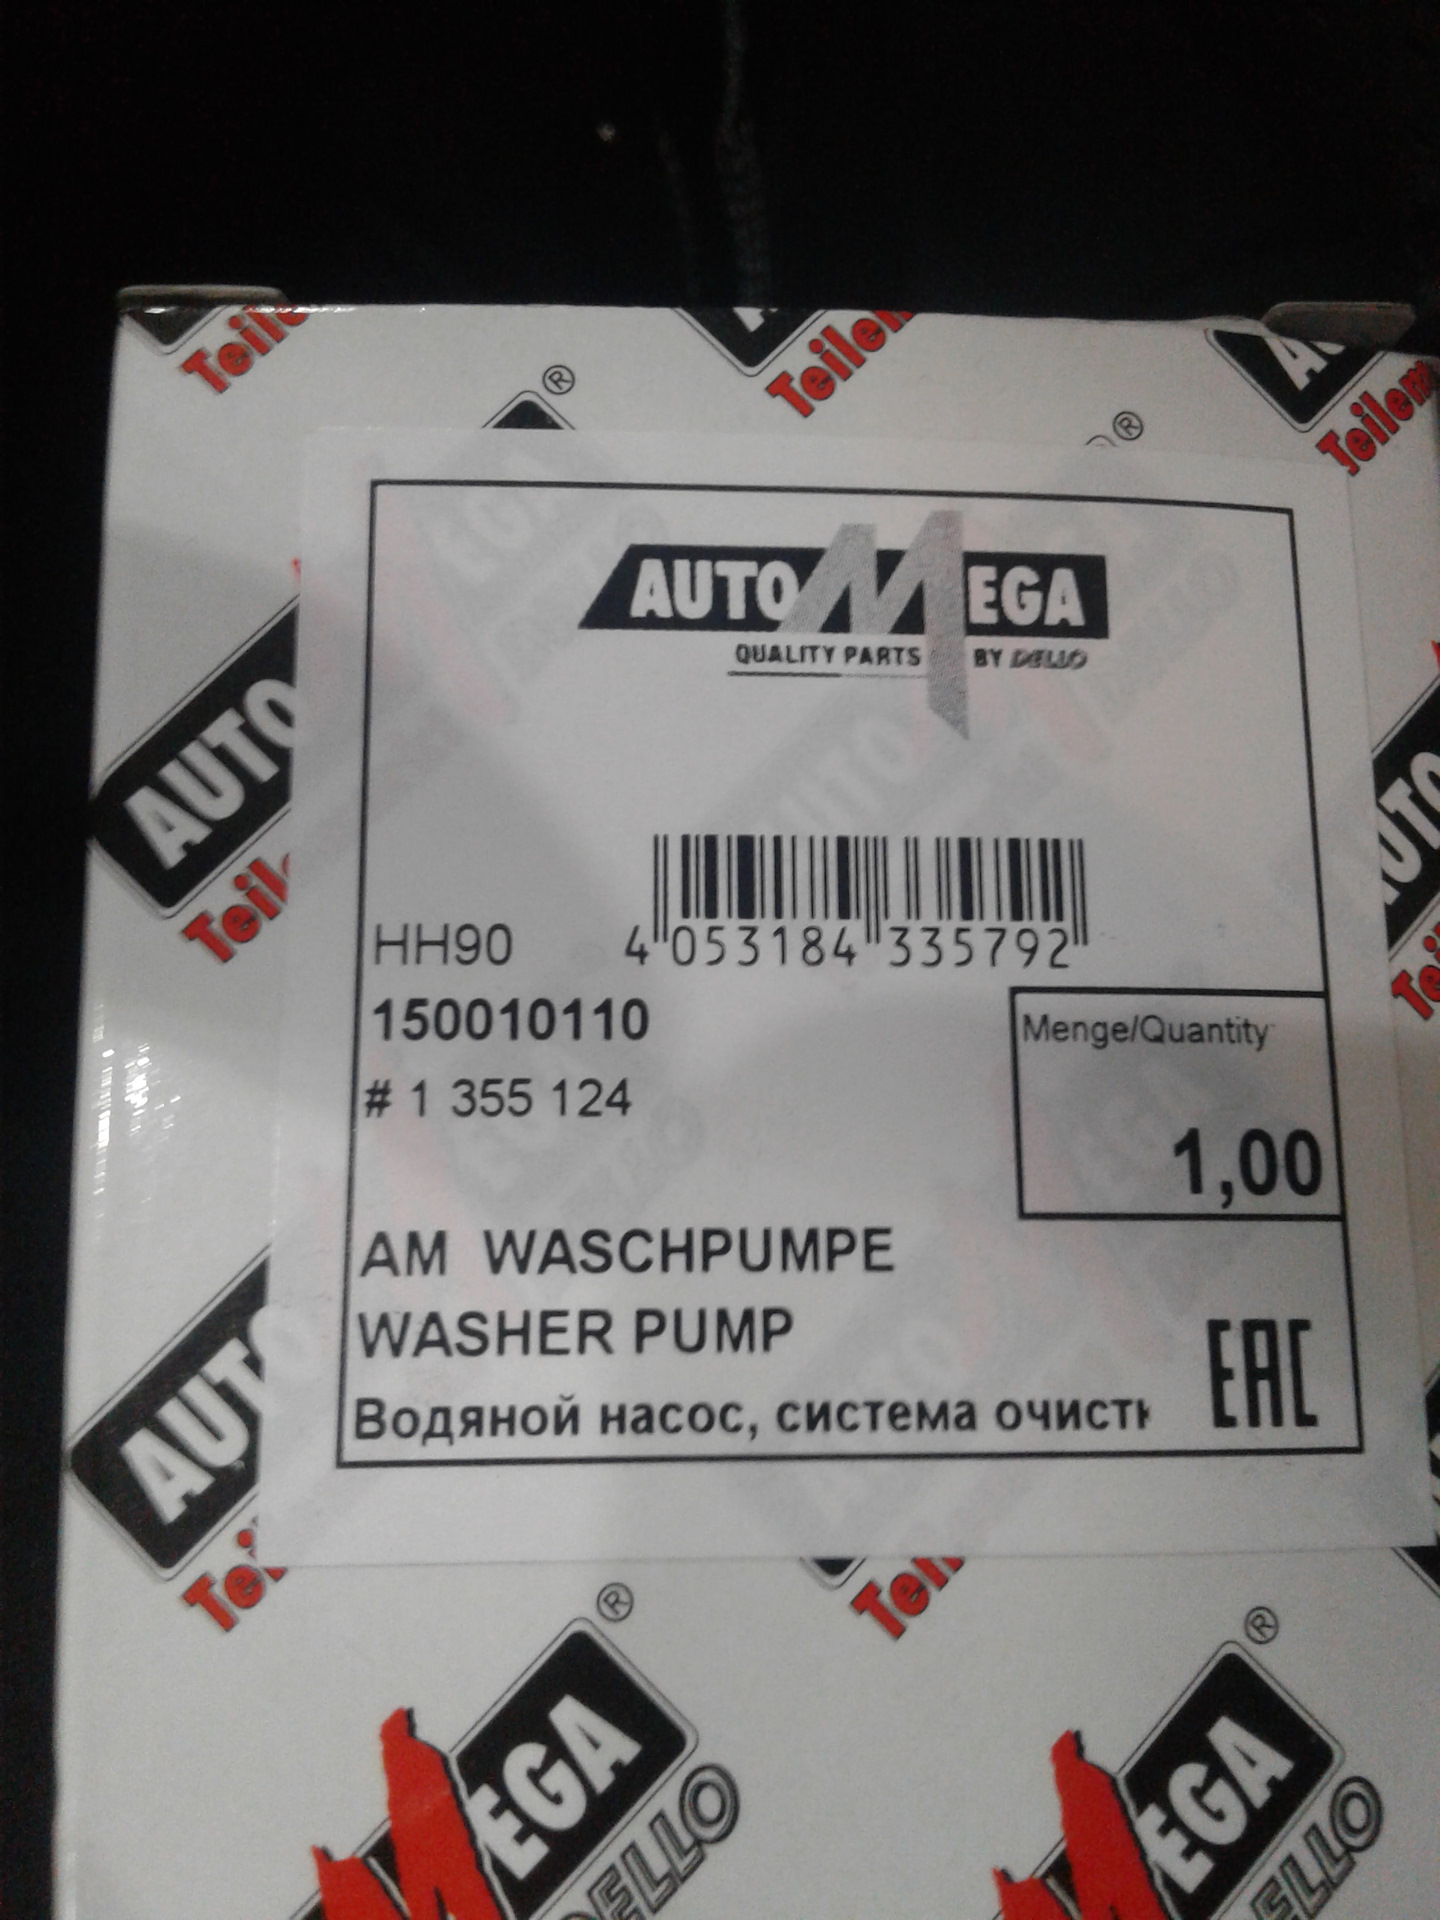
Here's my present